
Subscription module allows you approaching and manipulating with existing, as well as creating new subscriptions too.
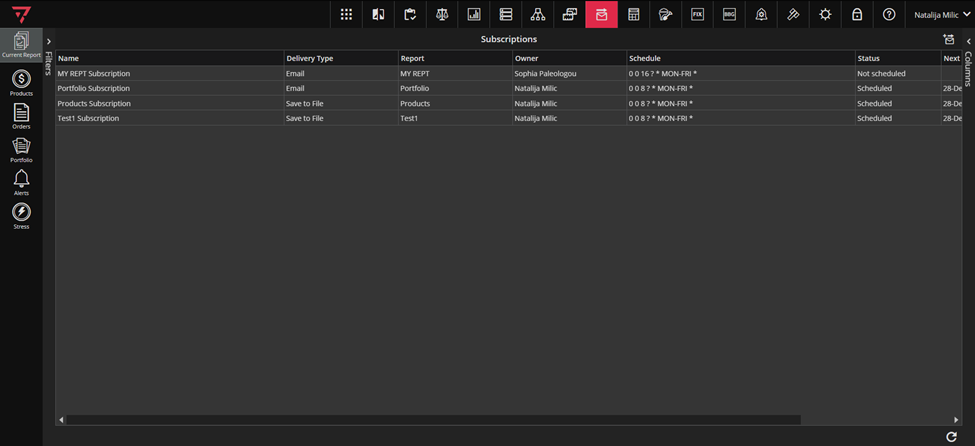
In general, subscribe option works based on the view, not on the grid. This means that, if you started from some module`s default view, performed some changes (added/removed columns, formats, filters etc.) and you have subscribed to it without saving your changes – what you will receive with the subscription is last saved view. There are two delivery types- Email and Save to File.
Now when you have that in mind, we will show you how to create new subscriptions. First, to access the Subscription module, click on the icon marked green in the singleton modules toolbar, as in the screenshot below.

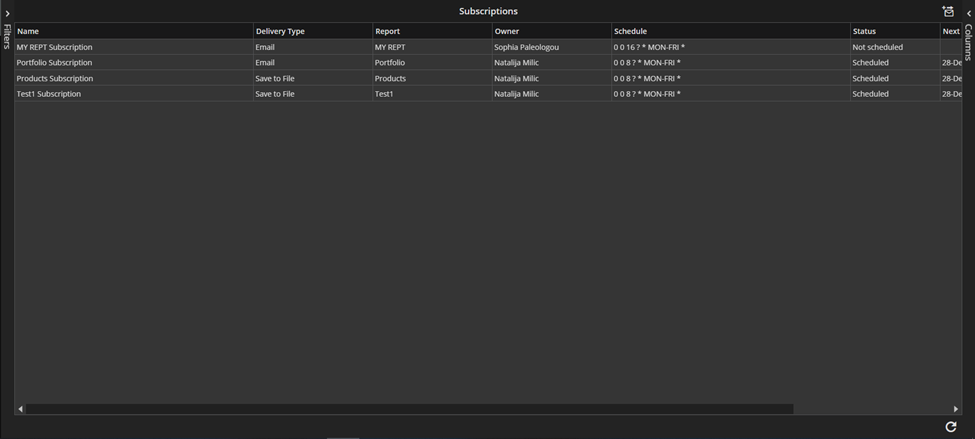
By right-clicking on a field in the grid, you will be given the context menu that has options related to that row/field. The following options are available:
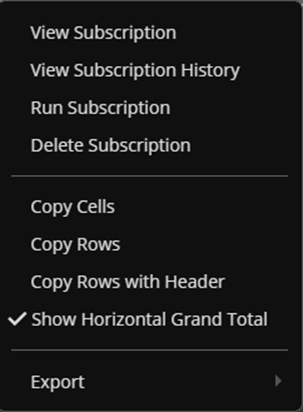
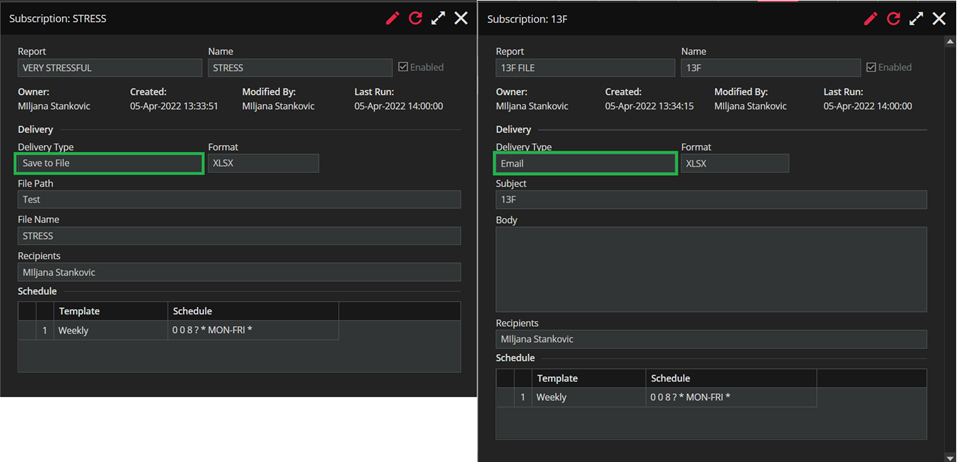
By clicking on the View Subscription option, you can open the subscription form to edit it or to look for more information about it.
Also, you can open the subscription form by performing double-click action on a field in the grid.
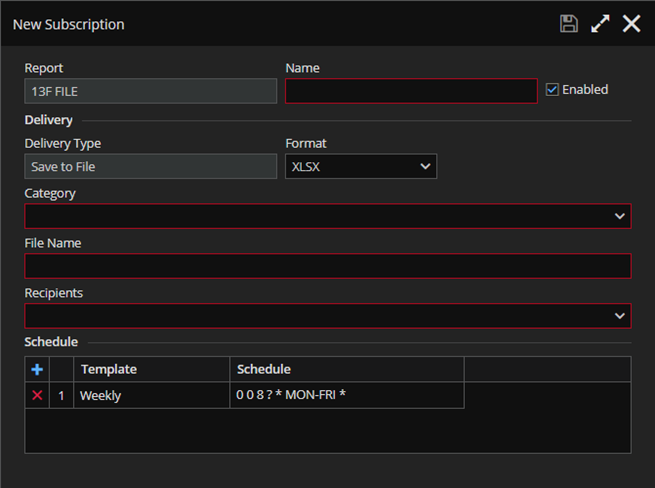
In the screenshots below you can see the Subscription form for both delivery types- Save to File and Email.
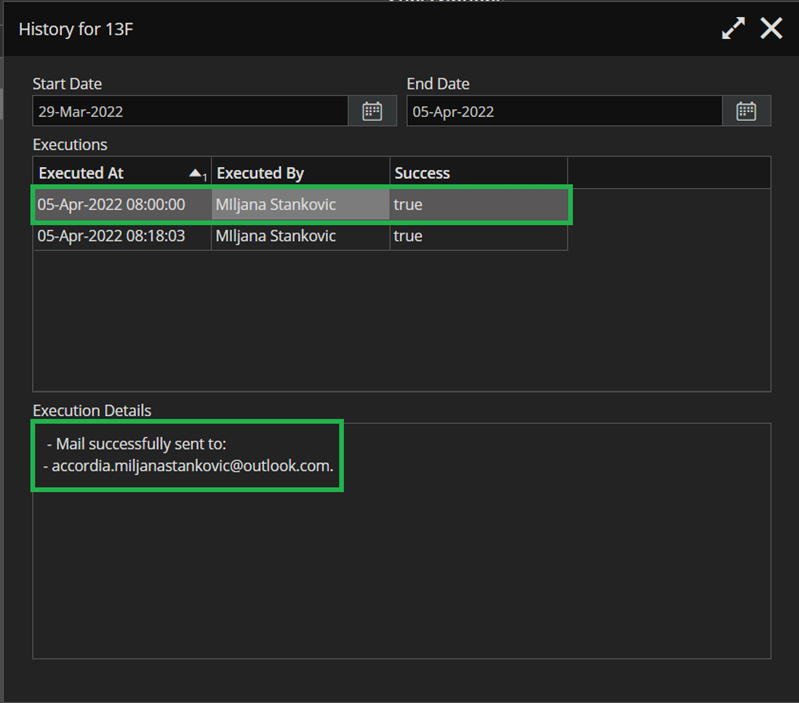
Clicking on the View Subscription History option from the context menu will show you users and times of the subscription`s executions, as well as if the execution was successful or not. Clicking on the user who performed the subscription will bring up more details in the Execution Details section bellow, as shown in the screenshot.
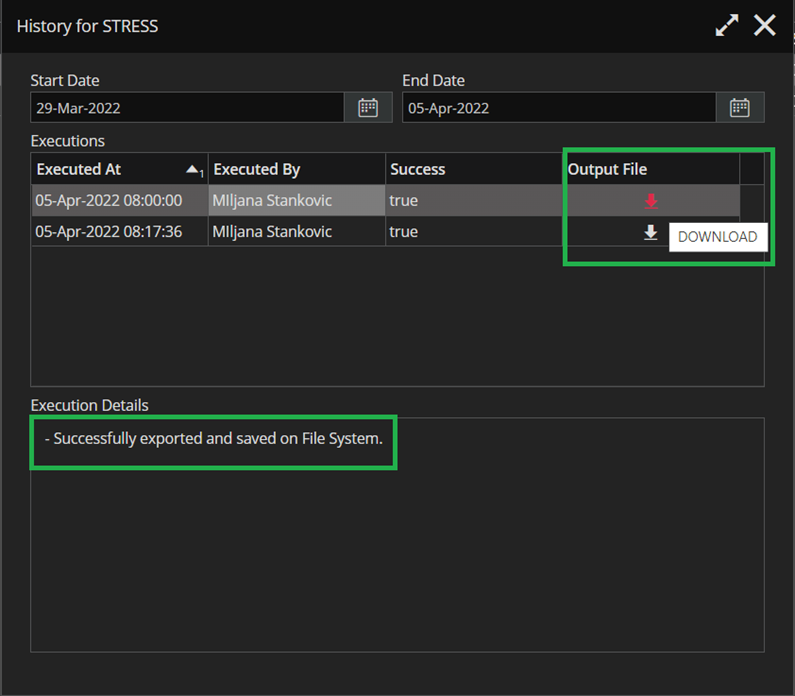
In case of Save to File subscription the History form will be a little different. There will be the Output File field from where you can download the resulting file. The Execution Details section holds the information if the file is successfully exported and saved on File System or not.
With the context menu`s Run Subscription option, you can manually run a subscription anytime.
You can delete the subscription by clicking Delete Subscription option in context menu. By clicking on the Create New Subscription option the Add New Subscription form pops up.
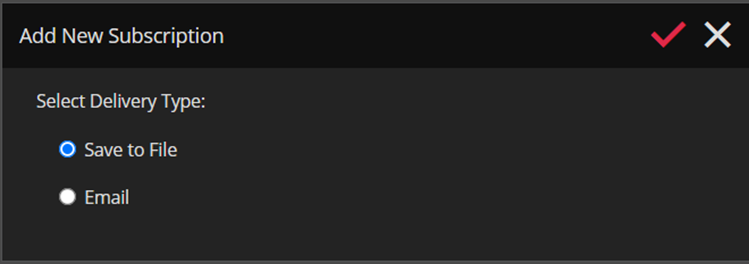
The user should select the Delivery Type when creating a new Subscription.
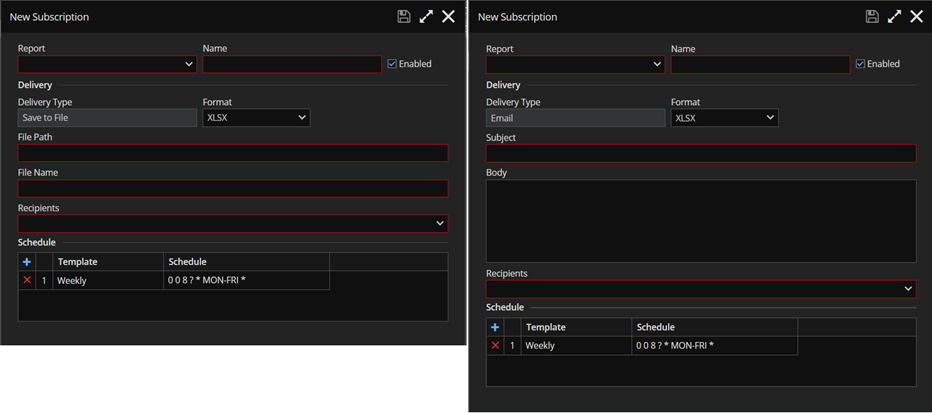
Red-bordered fields are mandatory and need to be fulfilled at the minimum.
In the Report field we choose the report you want to subscribe to. In Name field, we add subscription`s name.
There is Category control, so we can select one of the existing categories or create a new one on the fly.
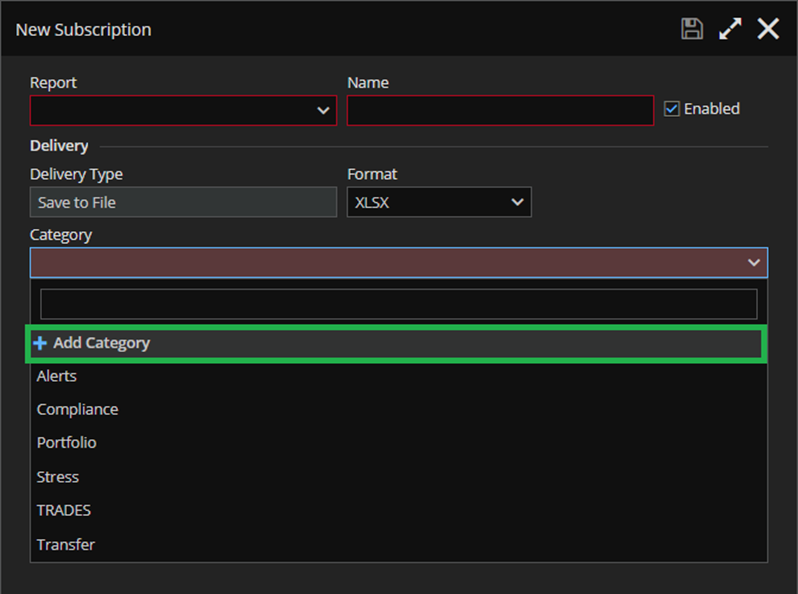
After we click on Add Category, the Create Category pop-up will appear where we have to type in the category name. Then the new category will be created.
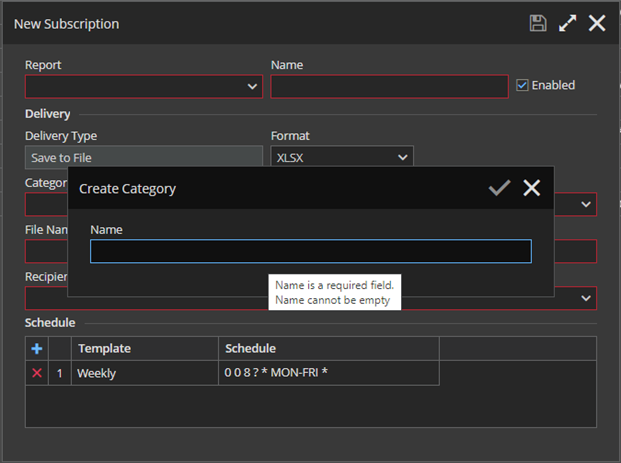
In File Name field you add the file name. Recipients control offers active users in the system. You can select one or more recipients.
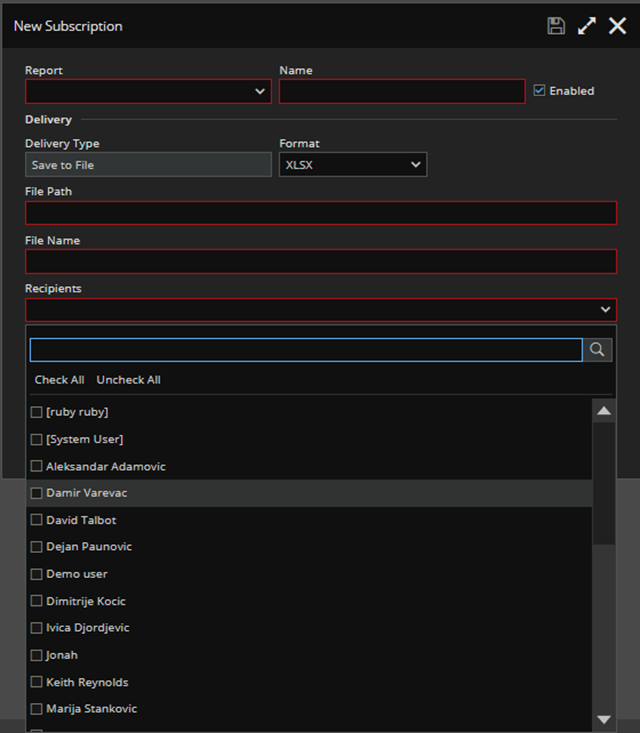
Notice that the Delivery Type field is always disabled.
Subject and Body fields are for subject and body in e-mail you will receive in case you have selected the Email subscription. In Schedule section you define the schedule for your subscription, using Cron expressions.
There is an option to subscribe to some report directly – by clicking on Subscribe action in the grid context menu of desired report or default grid-view of some basic module.
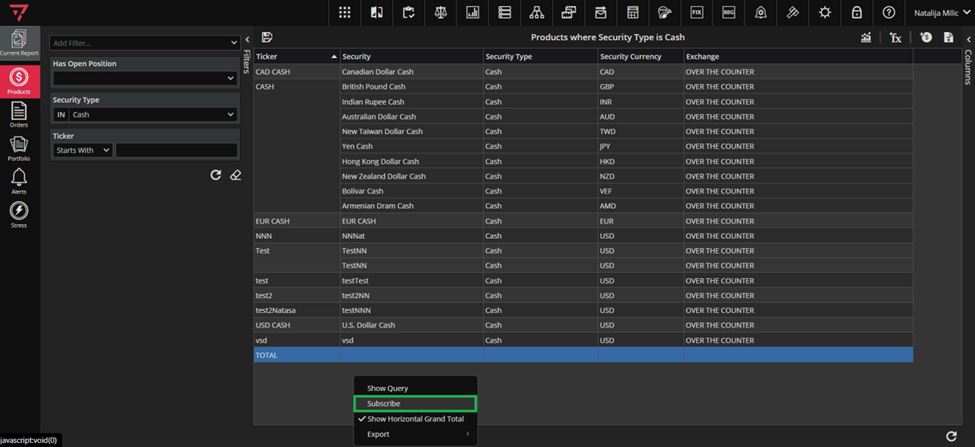
After clicking on Subscribe option, the Add New Subscription form will pop up and you will have to choose the delivery type.
In this case the Report field is already filled.
When you populate all mandatory fields and save it, your subscription will appear in the Subscription module after you refresh the page.
