
The Permissions module allows you to create new users and user groups and manage their level of access across the application.
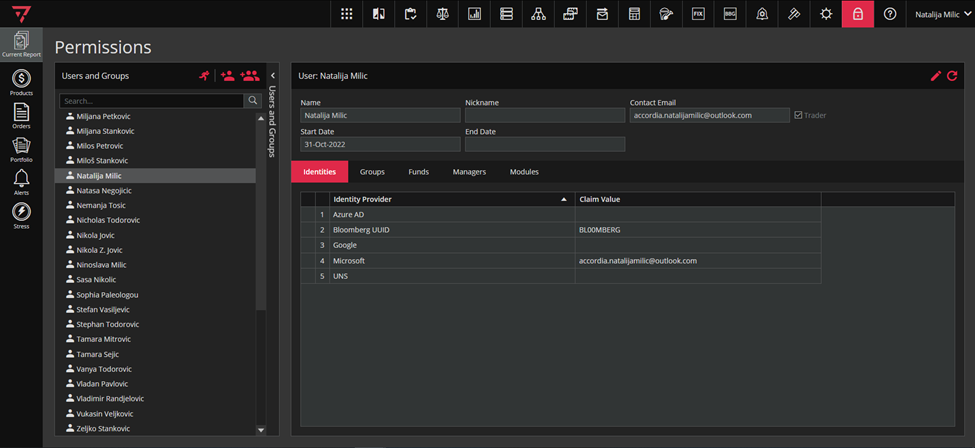
To access the Permissions module, click on the icon marked green in the singleton modules toolbar, as in the screenshot below.

When you open the Permissions module, the module will look like in the screenshot below.
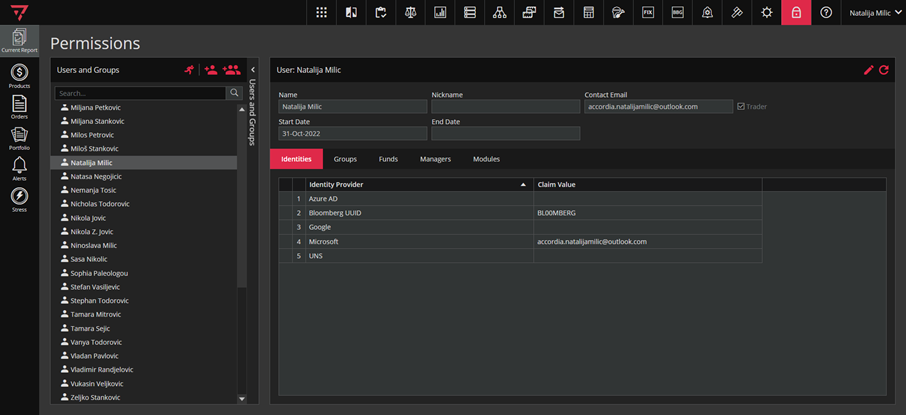
There is opened Users and Groups curtain to the left that contains Users and Groups tab only. The user identities, as well as groups, funds, managers and modules to which user may have access, are in the right container. The default setup is to see your own permissions when you access the module.
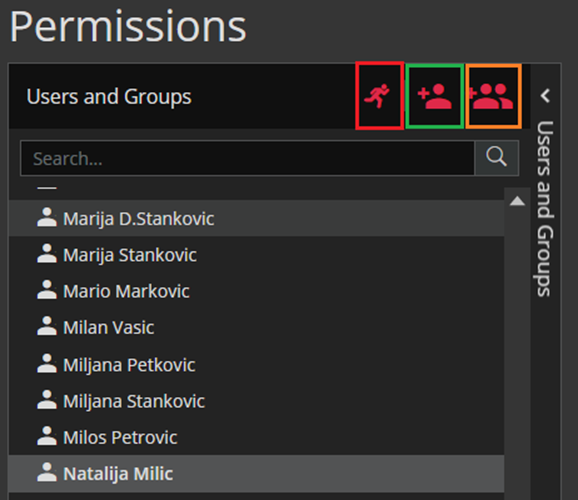
In the Users and Groups tab, you can see active users and groups listed alphabetically, but if you click on the toggle button (marked red in the screenshot below), you will see list of all users and groups. There is a possibility to add new user and new group by clicking on the buttons marked with green and yellow in that respective order from the screenshot below.
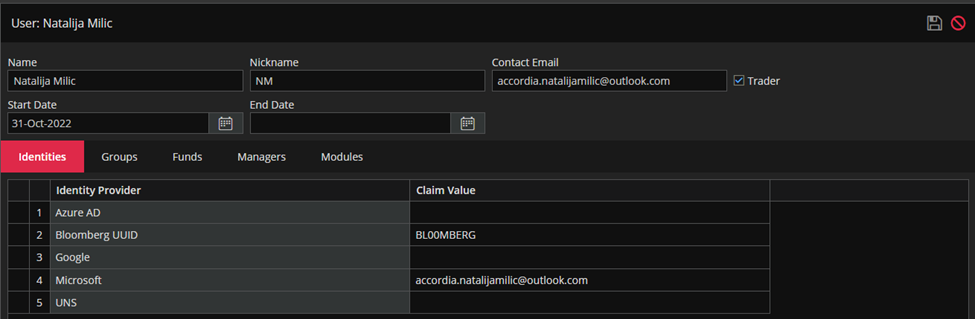
After you click ADD USER, the form for new user opens like in the screenshot below. Setting up new user is done by populating data in 5 different tabs of this screen: Identifiers, Groups, Funds, Managers and Modules.
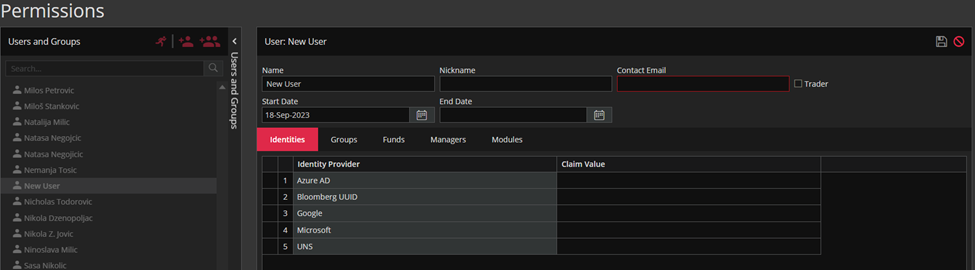
Before you click on save button, you can set up Name, Nickname, Contact Email, Start and End Date and add values for Identity Providers. A nickname has to be unique, but it’s optional. If the user has a nickname, that nickname will be used for the Trader field in the Order form and in the app navigation bar in the upper right..
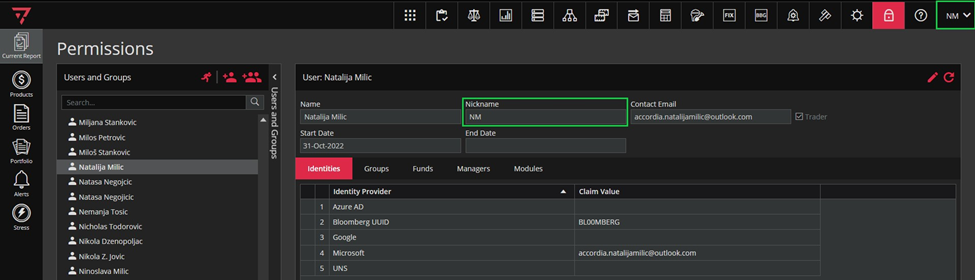
When the user doesn’t have a nickname, their name will be shown in the Trader’s dropdown and in the app navigation bar on the right.
Contact Email is mandatory field. When user enters an email address for authentication and the Contact Email field is empty, that email address will be copied to the Contact Email field. Of course he can change the Contact Email address. You can add Microsoft account, for example accordia.newuser@outlook.com or Google account newuser@gmail.com.
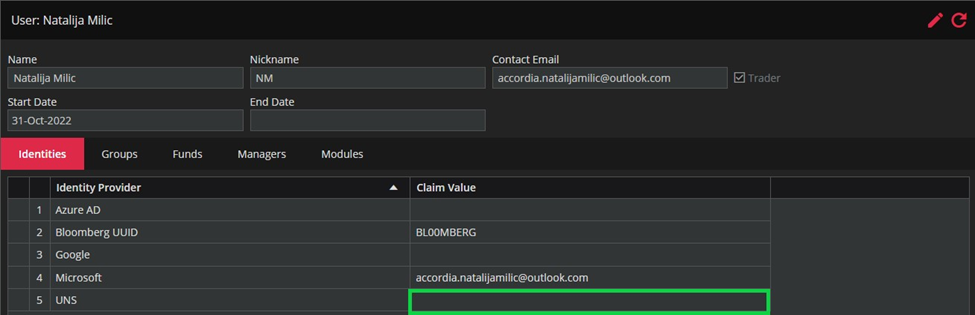
The UNS authentication is also integrated into Ruby. So that the user can log in using UNS he will have to enter UNS claim value to Permission module in the field marked with green rectangle in the screenshot below.
In the Groups tab, you can manage permissions for different groups: All Actions, All Alerts RW, All Alerts, All Funds, All Managers, All Modules, All Reports, All Tuples RW, All Tuples, All User and DEMO group.
In the Funds tab you can manage permissions for all funds. In the Managers tab you can manage permissions for managers and in Modules tab you can manage different permissions for modules like Access, Create Rules, Edit Configuration etc.
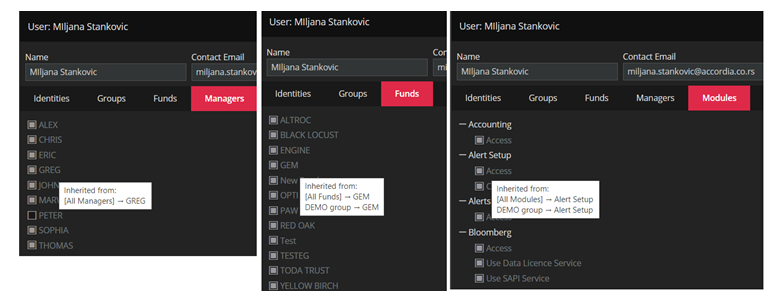
Permissions for funds, managers and modules are inherited form corresponding groups. So, it may happen that you uncheck some items in the Fund, Managers and Modules tab, and the user still can have certain permissions because he inherited them from the specific group.
By clicking on ADD GROUP icon, you get the form for the new group like in the screenshot below.
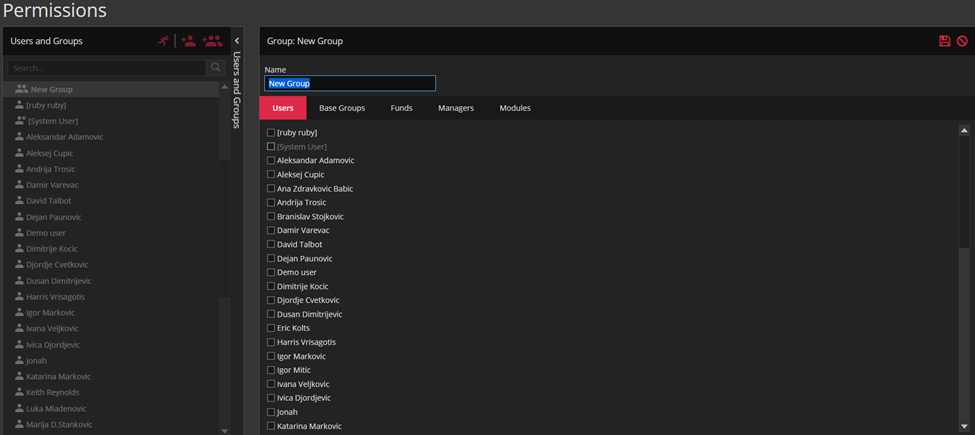
Permissions for a group can be assigned in the same way as for individual users. Groups are usually used to easily grant same permissions for numerous users at the same time. It should be pointed out that an individual user inherits permissions from groups he is assigned to.
