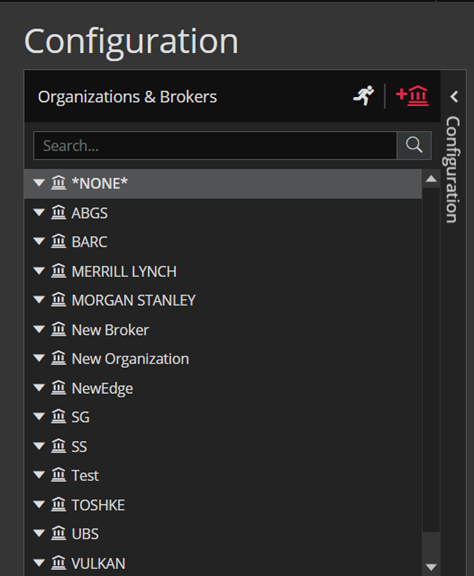
Configuration module allows you to set up new Organizations and brokers, Managers, Fund & Legal entities, as well as manipulate with the existing ones.
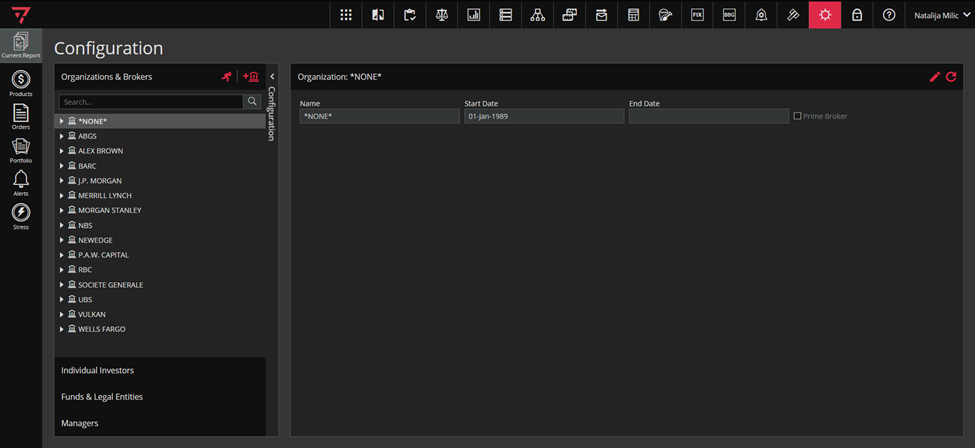
To access Configuration module, click on the icon marked green in the singleton modules toolbar, as in the screenshot below.

The following tabs are offered in the Configuration curtain on the left side of the screen: Organizations & Brokers, Individual Investors, Funds & Legal Entities and Managers.
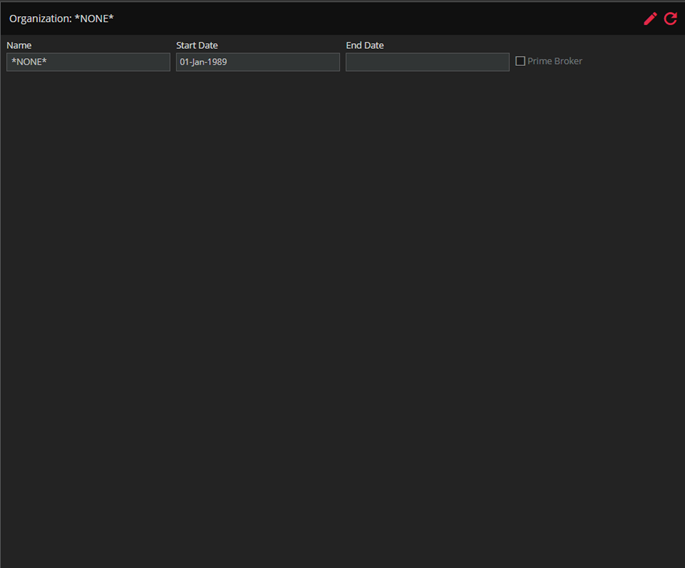
In the right section, Ruby shows details about selected items. Organization example:
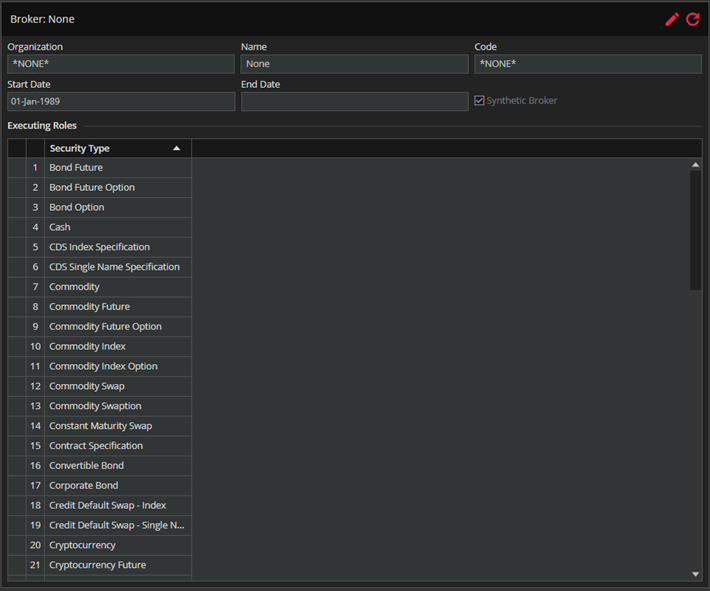
Broker example:
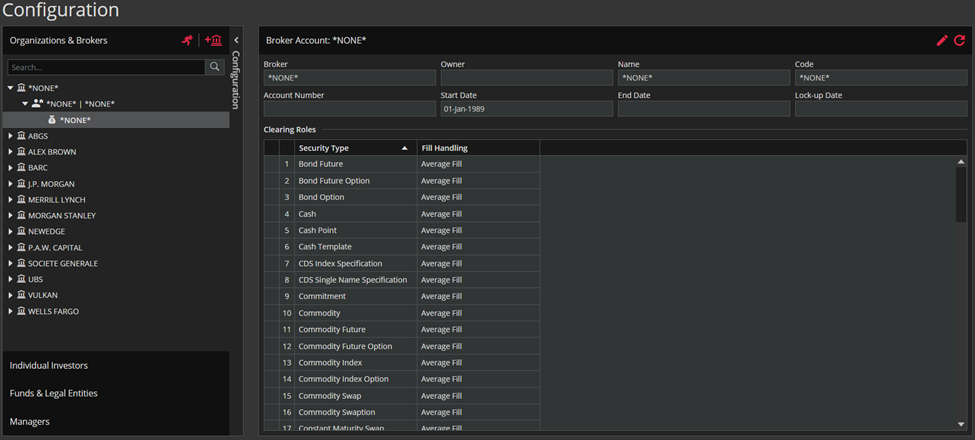
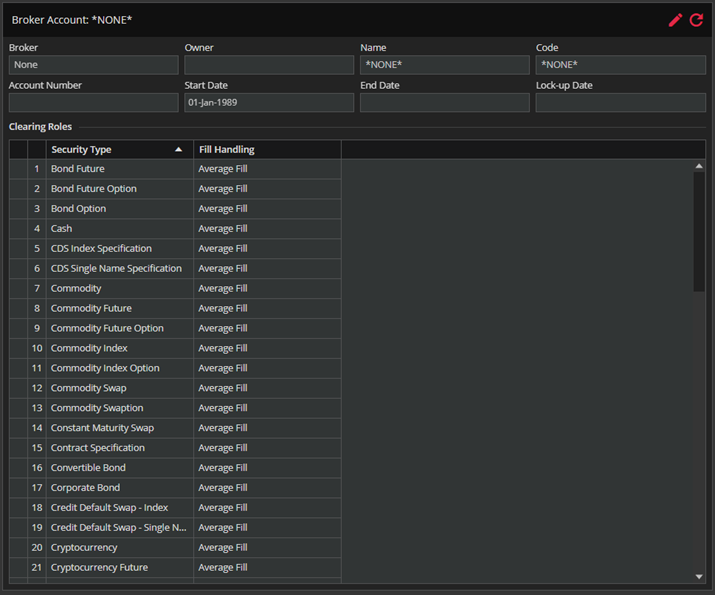
Broker Account example:
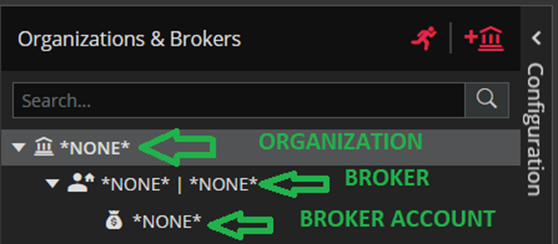
In the Organizations & Brokers tab, you manage organizations, brokers and broker accounts.
In the picture below you can see the hierarchy that exists in the Organizations & Brokers tree.
In the tab`s header, you have an icon to create a new organization (marked green in the screenshot below) and Show Active/Show All toggle which allows you to see either only active entities or all of the items in the Configuration module.
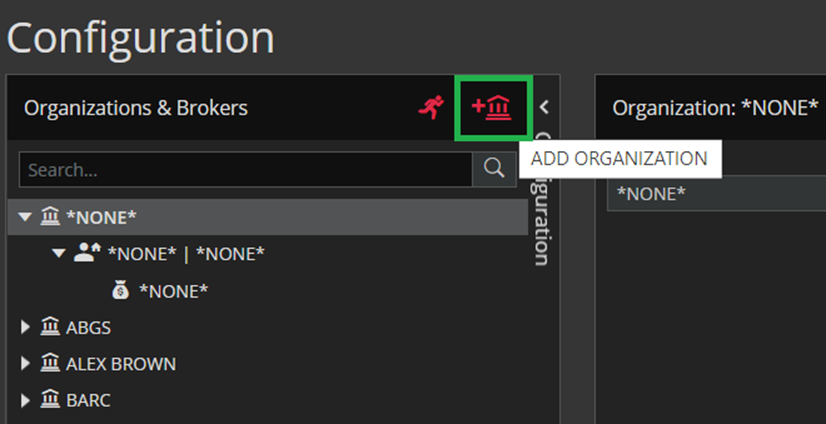
Clicking the ADD ORGANIZATION button, form opens as in the screenshot below.
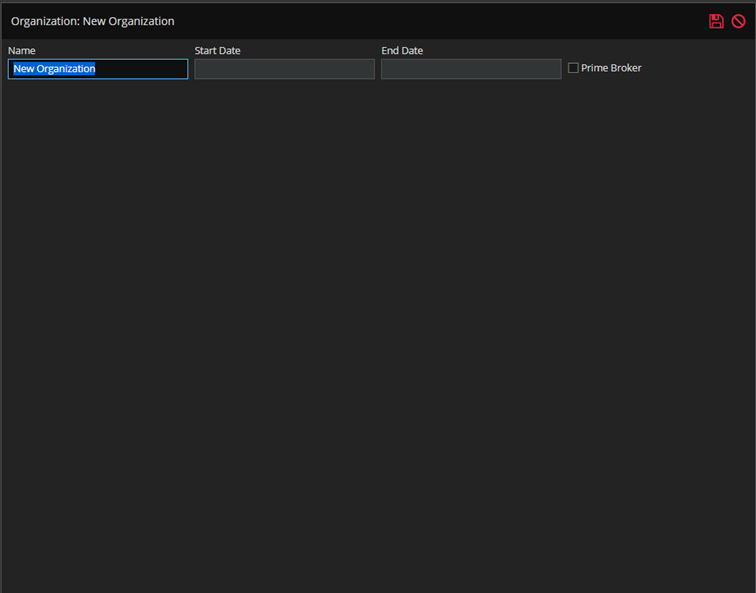
There is Name field where you can set Organization name.
Organization will not have its own Start Date / End Date. It would just reflect the start / end dates of its underlying brokers: the earliest start date of its brokers as a Start Date, and the latest as an End Date. These will always be disabled in Organization form. There is also Prime Broker check-box.
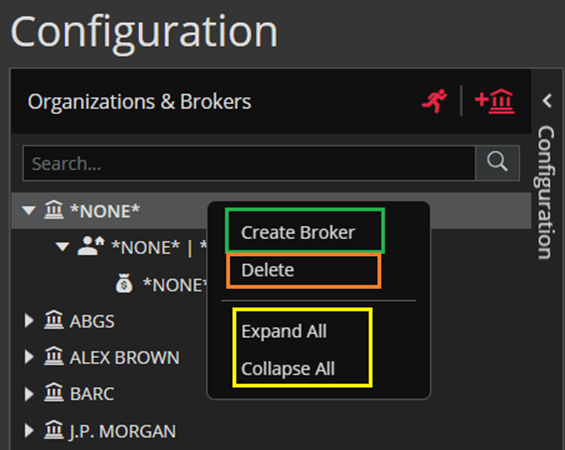
Performing right-click on the organization a context menu opens in which you have option to delete the organization, option to create a broker that will belong to the selected organization, and option Expand All/Collapse All.
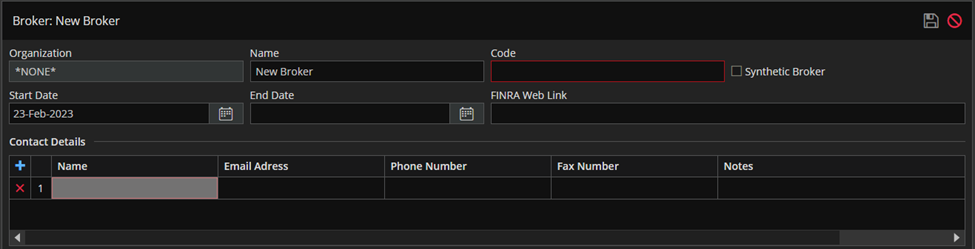
Clicking on the Create Broker, form opens as in the screenshot below. The broker is pre-populated based on the selected organization when you click on the Create Broker option. Red-bordered Code field is mandatory and you need to provide information for it at the minimum.
Besides, Code is used instead of Name for Broker lookup. That is for Executing Broker in all order types, for Executing and Clearing Broker in Orders and Portfolio modules etc.
Start and End Date are fields that set the beginning and ending of broker`s active period.
There is also Synthetic Broker check-box.
FINRA Web Link field is used for some specific URL address.
In Contact Details section you can add information about the broker: Name and contact details.
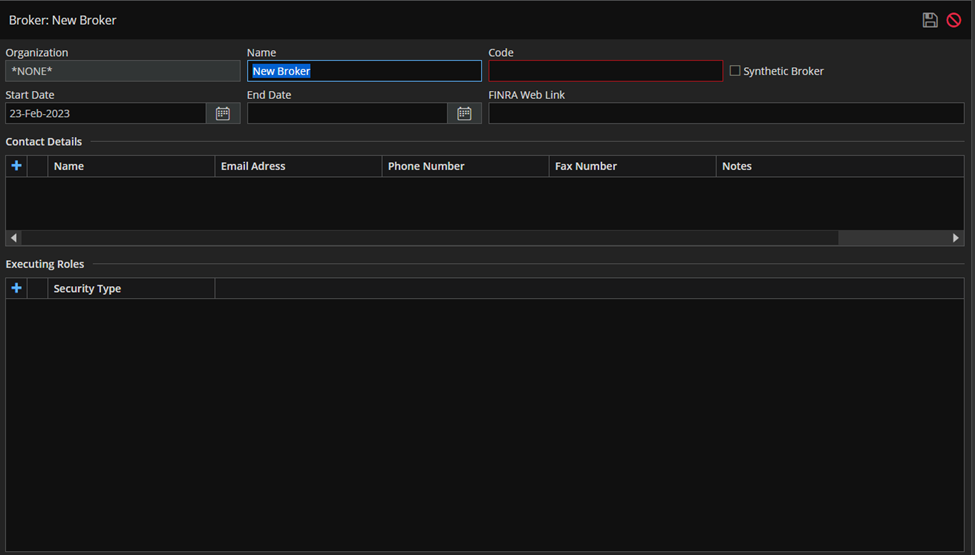
In the Executing Roles section by clicking on the blue Plus icon (see screenshot above) you can add security types. The orders for those security types can be carried out by the executing broker. An executing broker is a broker that processes an order on behalf of a client.
Clicking right-click on the broker a context menu opens in which you have the option to delete the broker and the option to create a broker account that will belong to the selected broker and option Expand All/Colapse All.
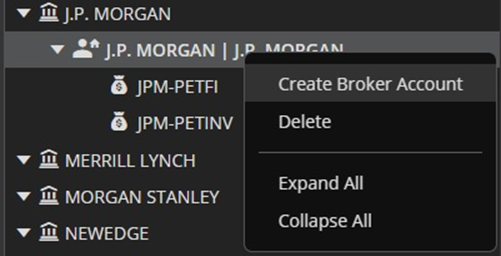
Clicking on the Create Broker Account option, form opens as in the screenshot below. The broker is pre-populated based on the selected broker when you clicked the Create Broker Account option. Red-bordered fields are mandatory and you need to provide information for them at the minimum.
Owner field will offer a list of available Funds. The Name field is the Account`s name and Code field is its code.
Account number is a specific number associated with the Broker Account.
Start and End Date are fields that set the beginning and ending of Account`s, let`s say, life. The Lock-up Date is the field where you set the date before which Broker Account cannot trade anymore. Before Start, and after End Date, Broker/Accounts are not visible in the application (Order forms, Porftolio/Orders module etc).
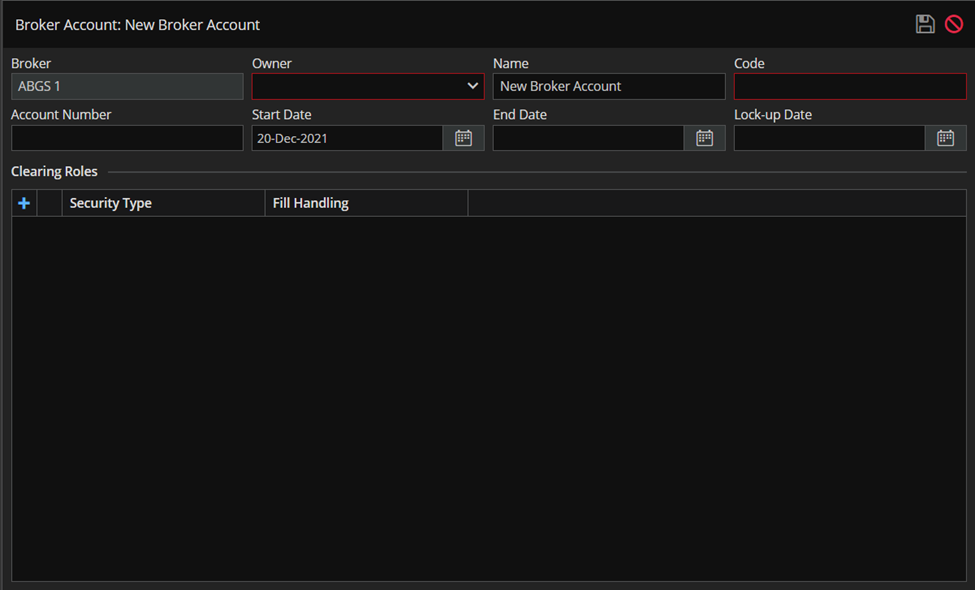
To add new Clearing Roles (security types which can be traded by your Broker Account), click on the Plus icon. A clearing broker ensures that the trade is settled appropriately and the transaction is successful.
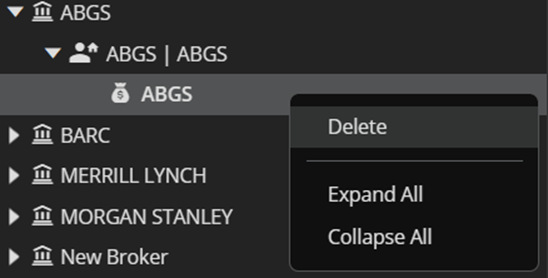
Now, if you want to delete brokers account, you can do it from the right click menu:
You can set Individual Investors (edit/delete, too) in the same manner you set Brokers/Accounts. Clicking the “ADD INDIVIDUAL” icon from the Individual Investors tab will open following screen to the right side:
Clicking the “ADD INDIVIDUAL” icon from the Individual Investors tab will open following screen to the right side:


When you hover over the individual investor, an “X” delete button will appear.

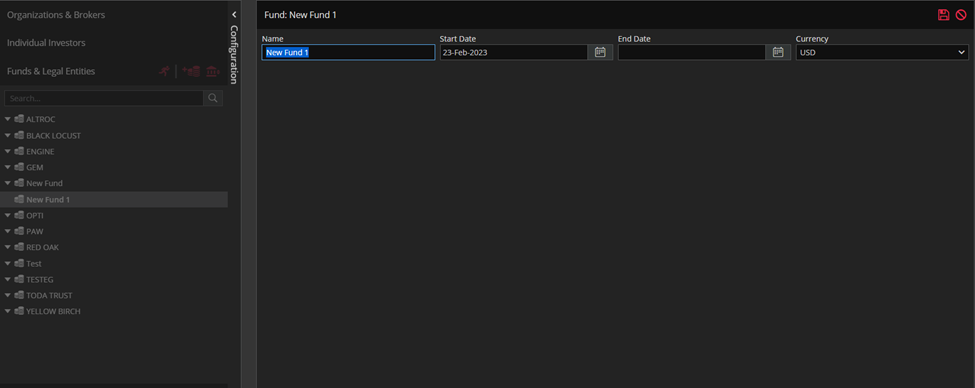
In the Funds & Legal Entities tabs, you can manage settings related to funds and legal entities.
In the Funds & Legal Entities tab’s header, you will notice two icons on the right.

Clicking the “ADD FUND” icon will open a new fund form to the right.

Clicking the “SHOW LEGAL ENTITIES DISPLAY ORDER” icon will open a Legal Entities Display Order popup. In this popup, you can change the order in which legal entities are displayed in dropdown menus.
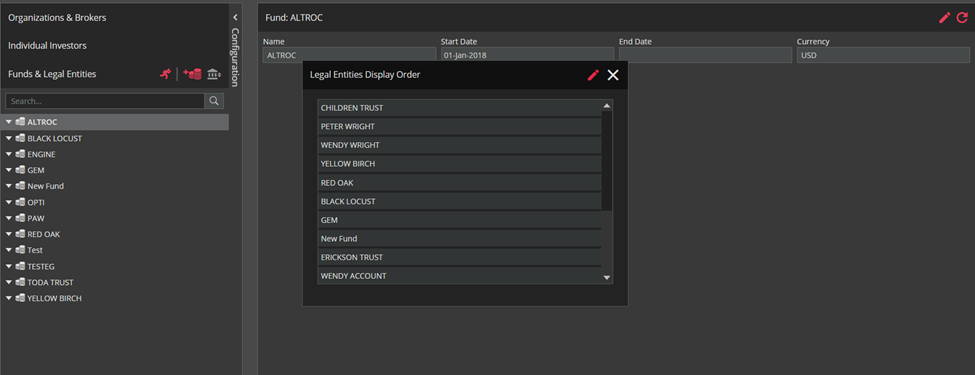
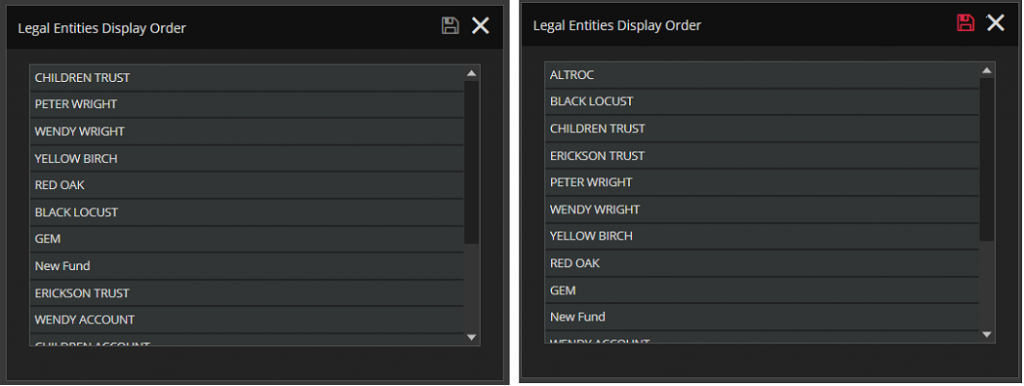
You can change the order by clicking on the edit button. Then click on a Legal Entity and drag and drop it to the position you wanted.
The screenshot below shows an example of changing the order of legal entities.
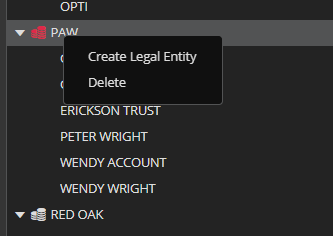
You can create a Legal Entity by right-clicking on the fund and choosing Create Legal Entity from the context menu (similar as in Brokers and Broker Accounts). Legal Entities are not visible in the application (order forms, Porftolio/Order modules) before the given start date or after given end date. Also, Legal Entity’s Start and End Date need to be within the Start/End Date of the given Fund. You also need to provide Legal Entity’s Code and this value will be shown in all the places in the app where Legal Entity is mentioned (Order forms, Portfolio…).
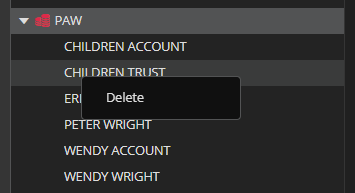
You are deleting the Legal Entities in the same manner, from the right click menu.
After clicking the delete button, a confirmation popup will appear.
In the Managers tab, you can create and manage manager’s settings.

Clicking on the “ADD MANAGER” icon opens a form to create a new manager on the right side of the screen.
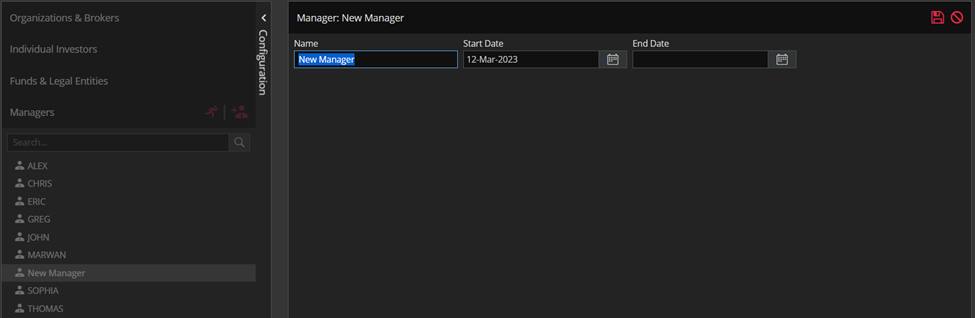
Setting up the manager is done by only setting the Name and Start/End Date. Managers are not visible in the application (order forms, Portfolio/Order modules) before the given start date or after the given end date.
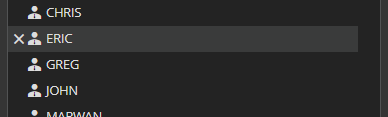
If you want to delete a manager, just hover over the manager’s name in the Managers curtain to the right, and an “X” will appear.
When you open the page for the first time, toggle button (marked green in the screenshot below) will be red, which means that you are only seeing active entities. This button behaves in the same manner for all four accordions (Organizations & Brokers, Individual Investors, Funds & Legal Entities and Manager).
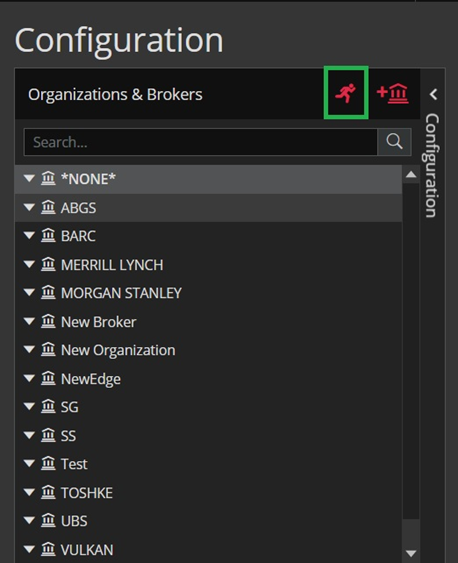
In case when toggle button is white, you can see all created entities, no matter if they are active or not.