Alert Setup module allows you to create a set of rules that will later, in Alerts Basic module, notify you that conditions you have set are met, according to the schedule you chosen.
To access Alert Setup module, click on the icon marked green in the singleton modules toolbar, as in the screenshot below.

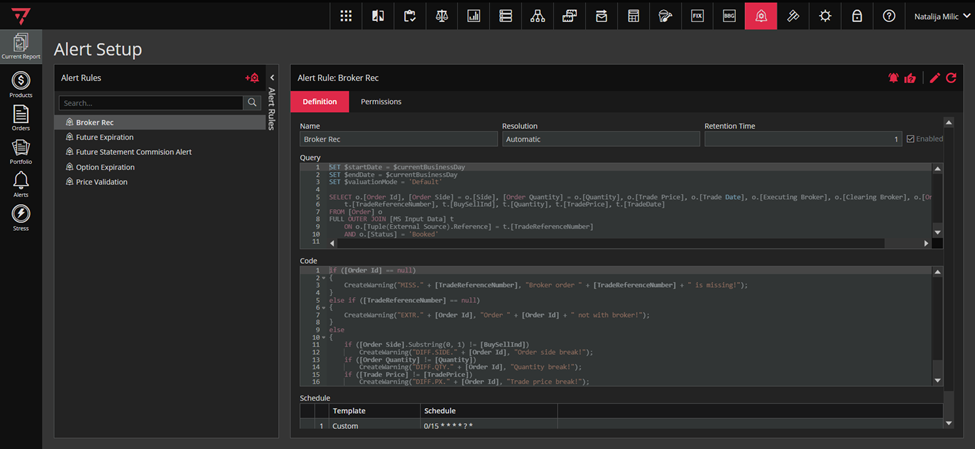
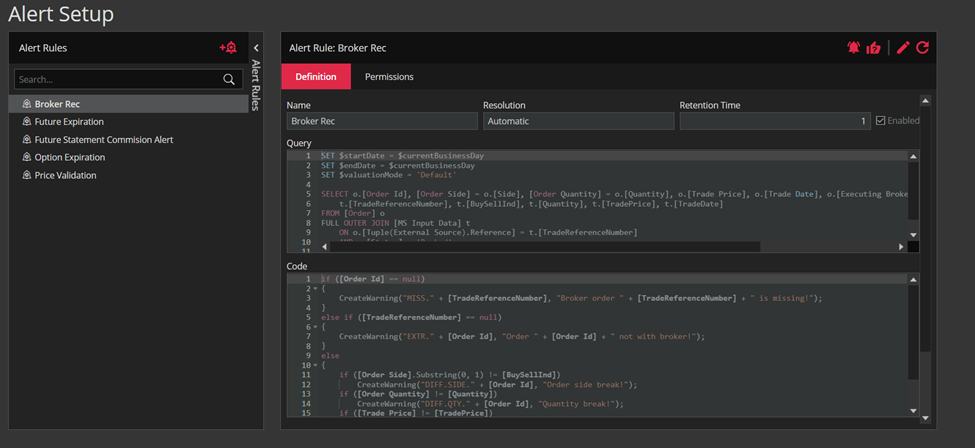
The screen will look like this.
To add new Alert Rules, click on the icon marked green in the screenshot.

After clicking the “ADD ALERT RULE” icon, a new alert rule form opens on the right side of the screen.
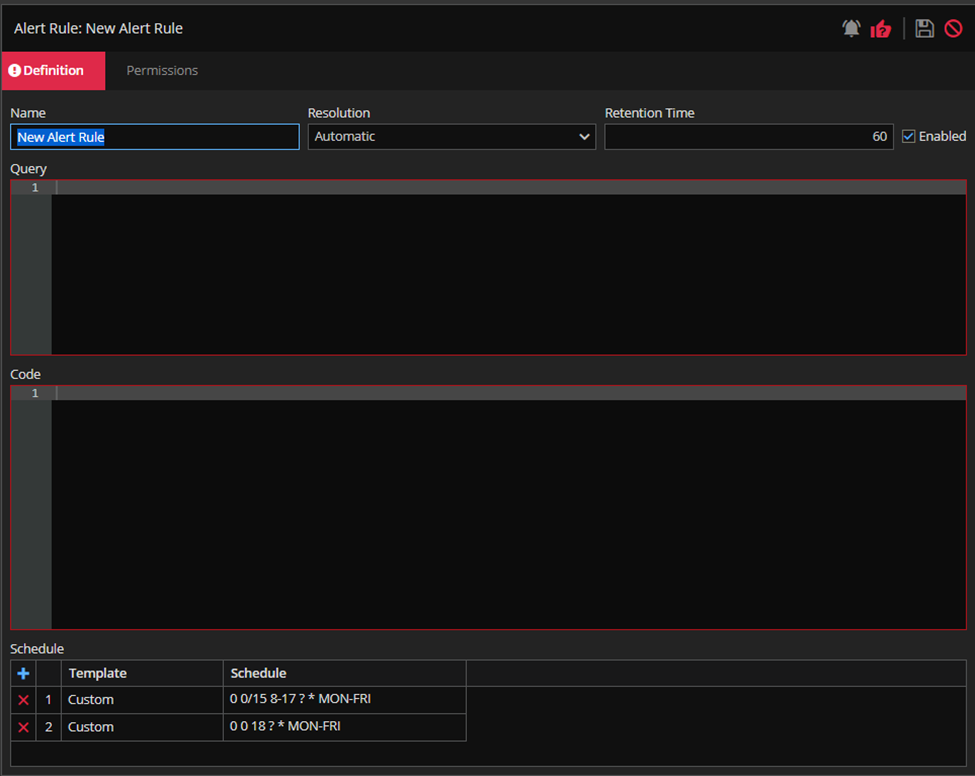
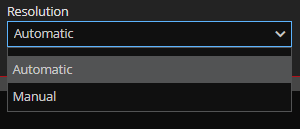
In the Name field, enter rule`s name. In the Resolution dropdown field, chose the manner your rule will be resolved in. There are two options: Manual, and Automatic. If you choose Manual, the record in the Alerts module will be present until you don`t resolve it yourself. If you chose Automatic, it will disappear from the list after the retention period finishes.
Retention Time is expressed in minutes and is representing how long the record in the Alert module will be present after the alert is resolved.
In the Query section, you fetch the needed data and then add a condition to be alerted at, in the Code section. See an example of a price alert in the screenshot below.
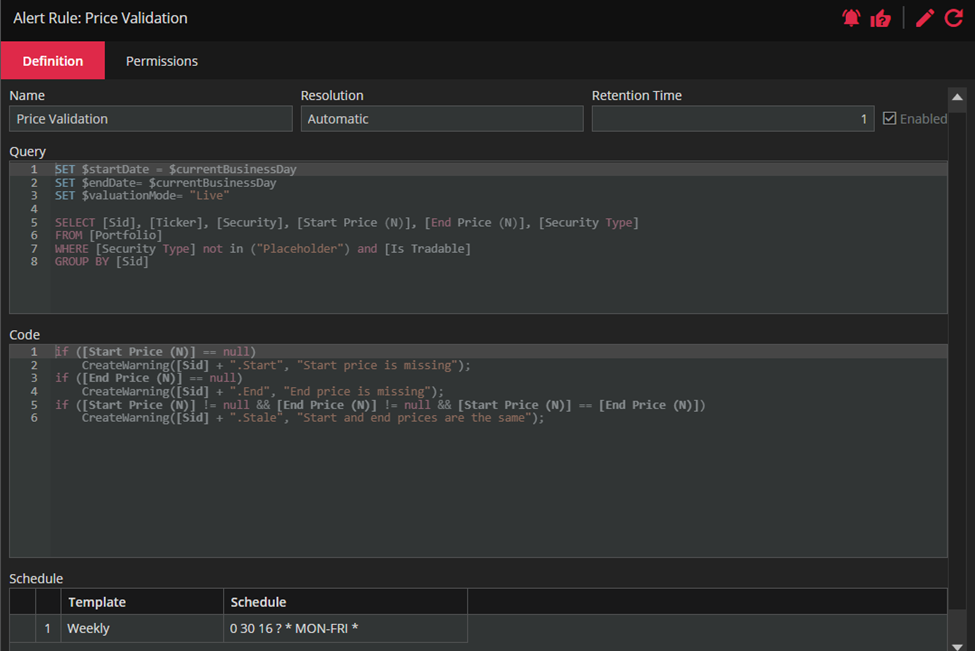
In the Schedule section, you schedule the day and time of the alert using Cron expressions.
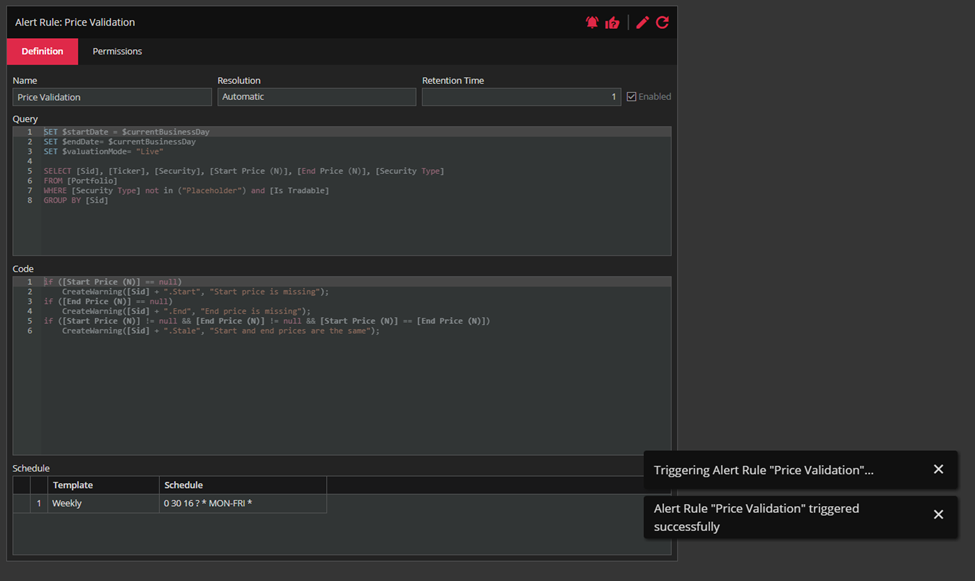
There is an option to trigger the alert manually by clicking on the TRIGGER button in the upper right corner (it’s marked green in the screenshot below).

When user clicks TRIGGER, the snack appears as shown in the screenshot bellow.
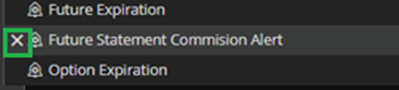
When you hover over the Alert Rule in the Alert Rules curtain to the left, an “X” delete button will appear – giving you option to delete your rule if needed.
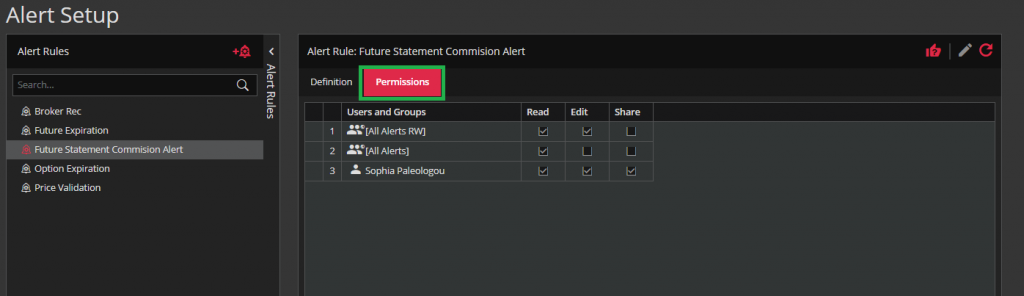
In the Permissions tab, you can manage alert-specific permissions.