
Tuple Space allows you to create tuple entities you can use later all across the application: on Security and Order forms, in the ETL processes etc, to add additional information on the item that might not be offered as, let`s say, a default field.
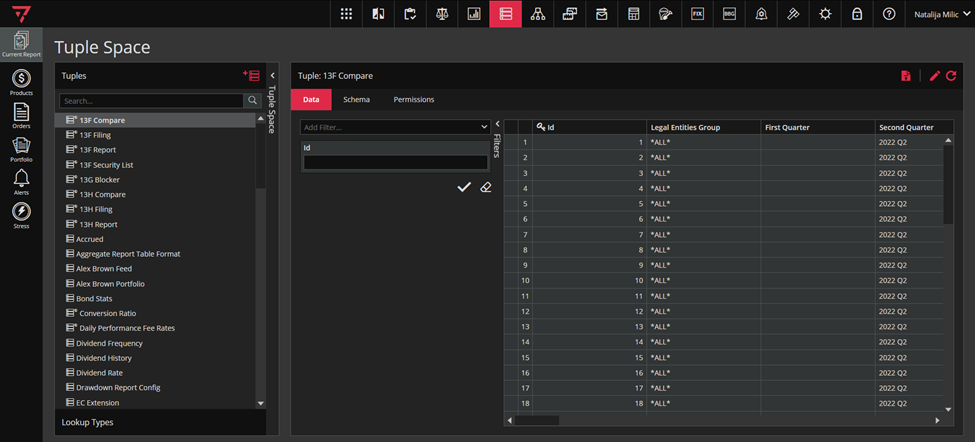
To access Tuple Space module, click on the icon marked green in the singleton modules toolbar, as in the screenshot below.

When you open the Tuple Space module, the module will look like in the screenshot below.
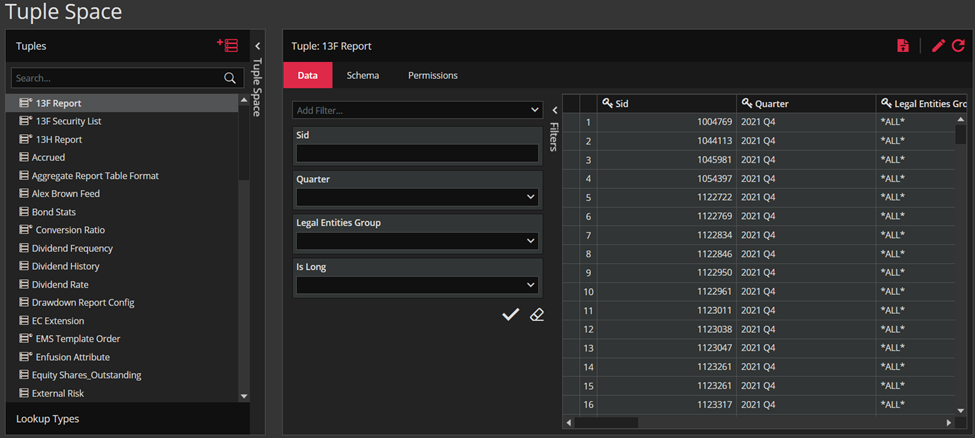
In the Tuple Space curtain to the left, there are two tabs: Tuples and Lookup Types.
In the Tuples tab, you can manage all tuples you are permissioned.
You will notice that some tuples have a small globe next to the tuple`s icon. Those are system tuples and are created from the database. User can only edit them with the specific permissions.
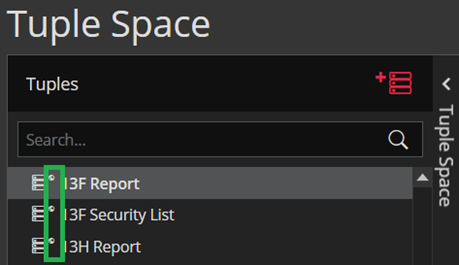
Even though you have permissions -you should not change the system tuples without discussing with other people that might be using them, because you may disrupt the expected functioning of other modules, reports etc. Anyway, you can change them, but first do check what your change will affect.
In this tab`s header, you have a button to create a new tuple (highlighted in the screenshot below).
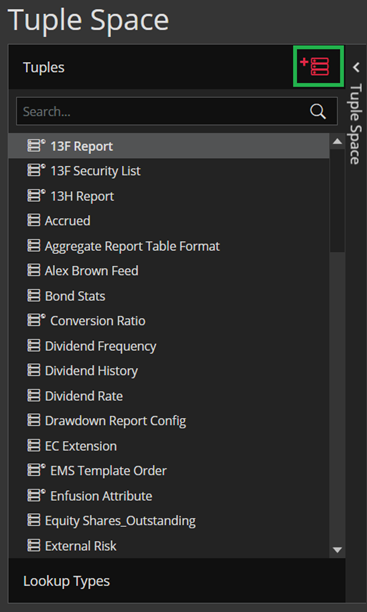
After you click on ADD TUPLE button, the screen to the right opens like in the screenshot below.
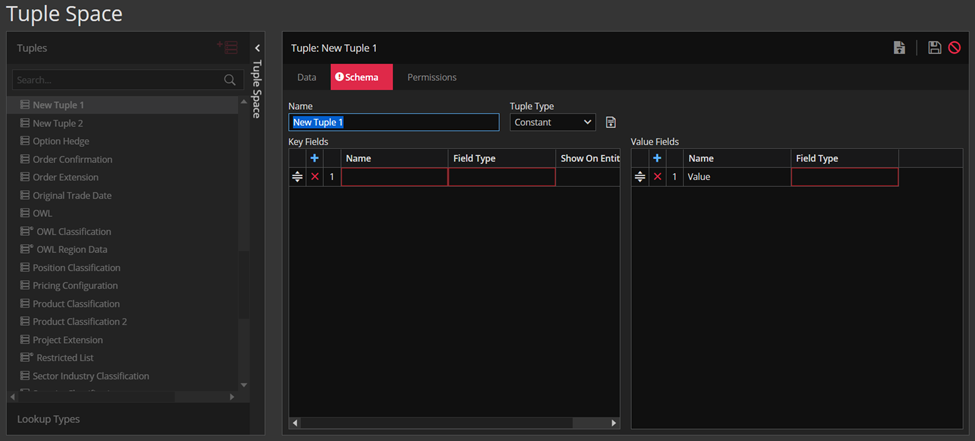
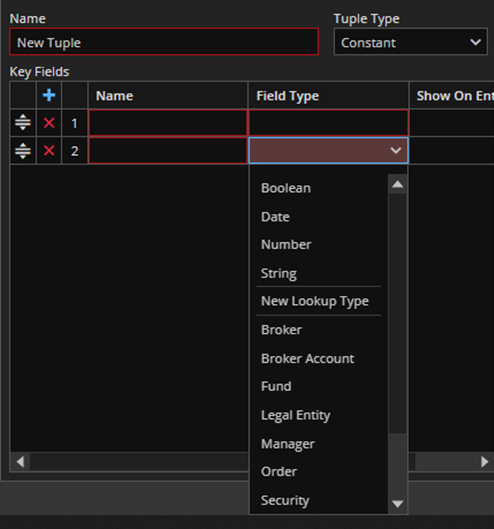
When you create new tuple, default setup for Tuple Type is Constant, but you can choose between Date Range, Good Until Changed and Value Dated Tuple types. After the tuple is saved, you cannot change its type. Required fields you need to provide at the minimum are marked with red. Every tuple can have Key and/or Value fields. At least one Key field is needed to be able to save new tuple. Ruby supports numerous field types that can be chosen from the dropdown menu as shown in the screenshot below.
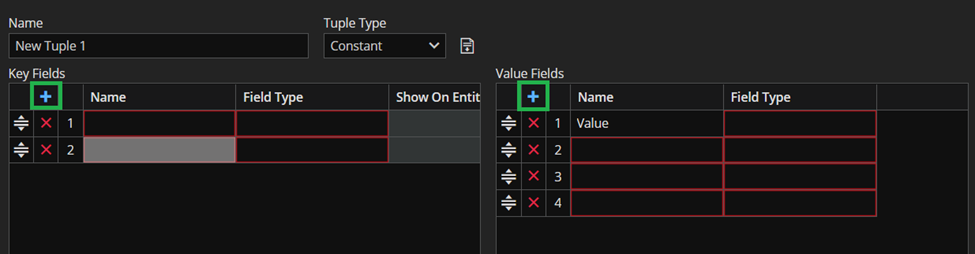
New fields in both, key and value fields sections are added by clicking on the Plus icon (highlighted in the screenshot below).
There is an option to generate new fields from file by Clicking on the IMPORT FIELDS FROM FILE button (marked green in the screenshot below).
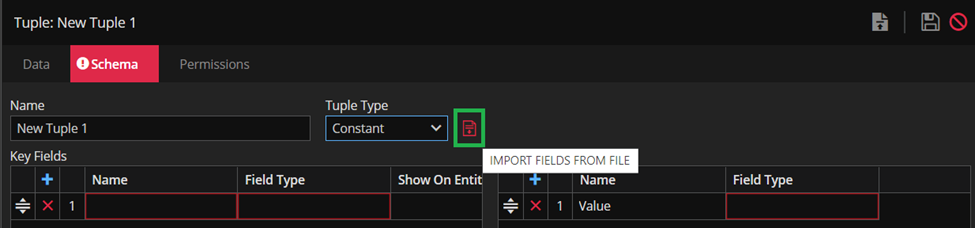
This icon is enabled and present only when user is creating new tuple.
By clicking the icon, the Windows Explorer window opens.
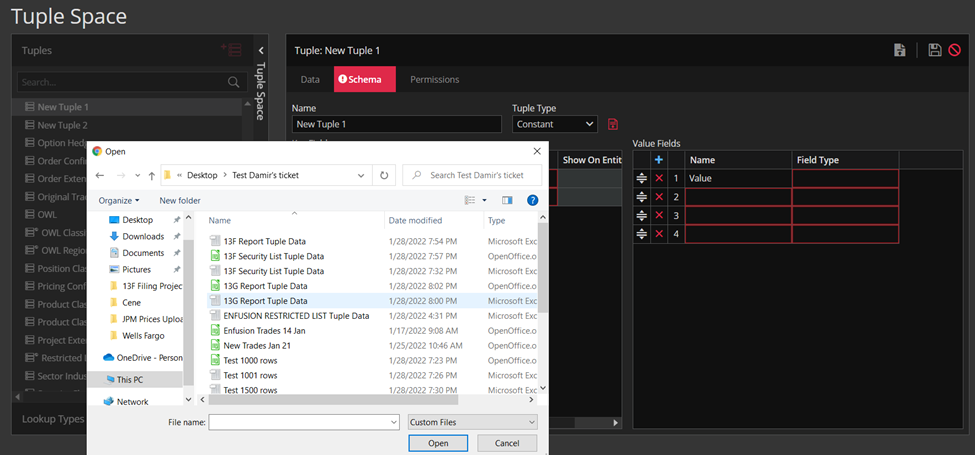
After the file is chosen, first column from the file will fall in the Key Field section and the rest of the columns will fall in Value Field section.
It’s useful that based on the data in the file we get the suggested field types (see screenshot below).
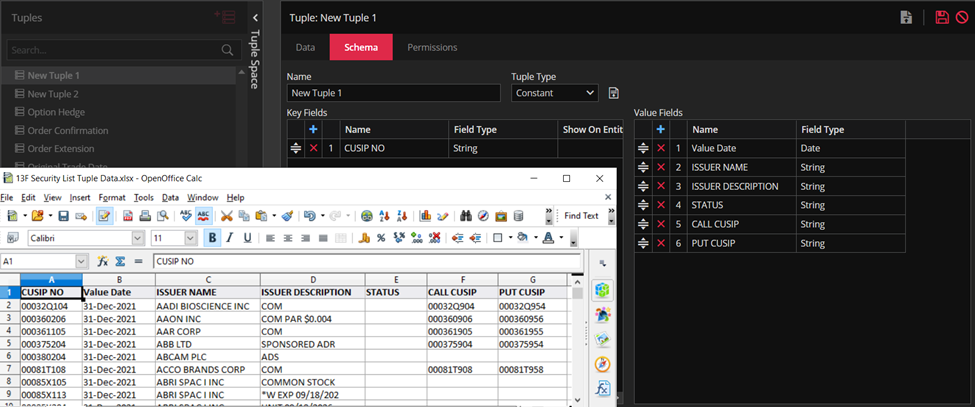
Of course if we want some other field type, we can change it.
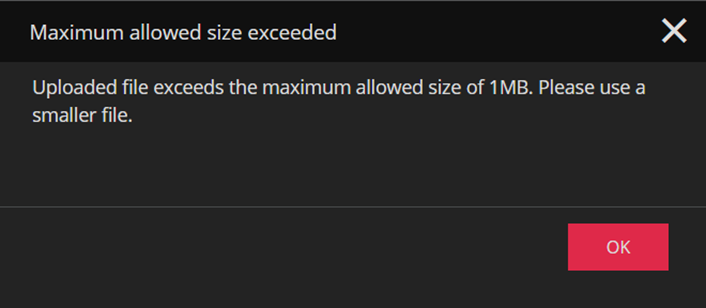
In case that we want to generate columns using a file larger than 1MB, the message pops-up saying that uploaded file exceeds the maximum allowed size.
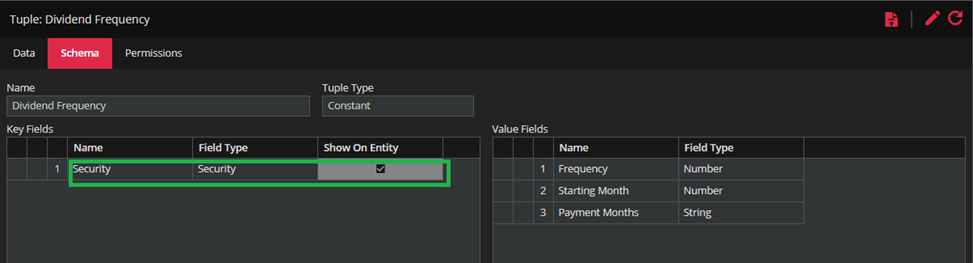
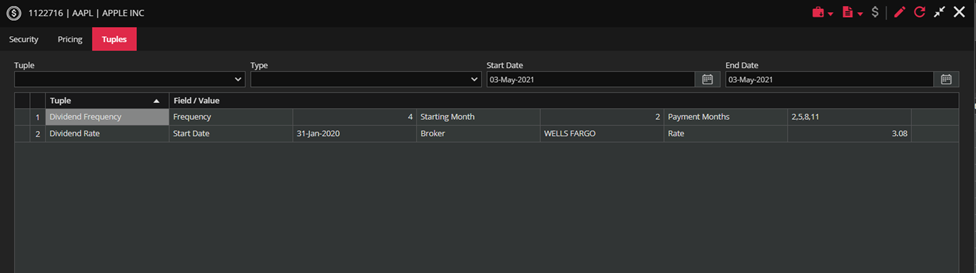
If the field`s type is Security, or Order, and the option Show on Entity is chosen, the tuple value will be available in the tuple tab in the Security/Order form (tuple tab is also called Applied Tuple/Tagging).
If we are having the schema with more than one key, right after that second one is added – Show On Entity flag becomes unchecked and disabled for further editing, since we are not showing multi-key tuples on Order/Securities anyway.
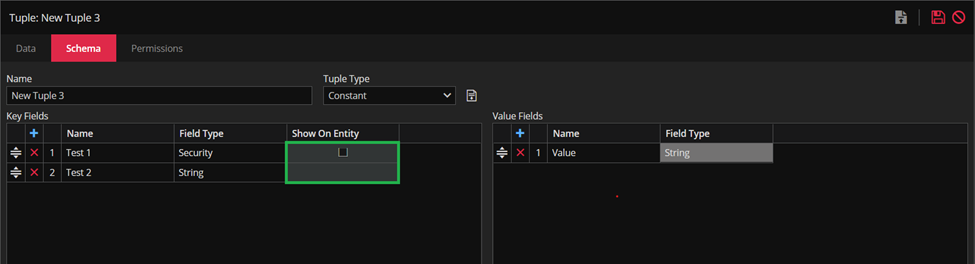
When the user delete the extra keys and leave only one – the checkbox will be enabled again.
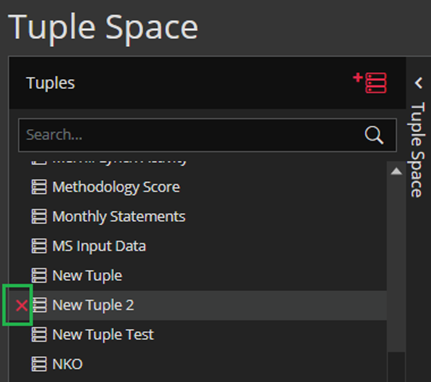
You can delete the tuple by clicking on the “X” that appears in front of the tuple name on hover.
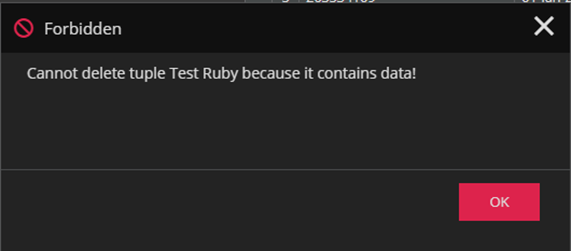
Users are allowed to delete a tuple that has NO data. When the user tries to delete the tuple with some data a warning will appear saying that it is forbidden.
If the tuple has a small amount of data, then the user can edit tuple data, delete all the rows, save and then delete the now-empty tuple.
If the tuple has tons and tons of data, deleting would be very hard to do so user would either have to use Tuple Loader and file with ACTION DELETE on each row or to contact RUBY Support to get help.
But, in all cases, user would need to put quite a bit of work to delete a tuple with data. It’s not going to happen accidentally.
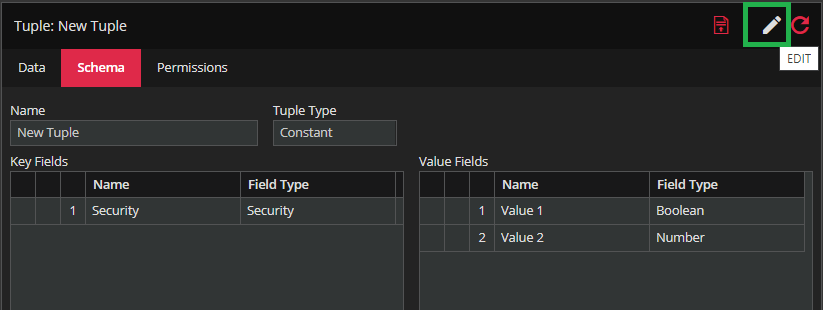
There is possibility to change the Scheme of the tuple by using Edit button marked in the screenshot below IF there is no data in this tuple.
There is the possibility to change the Scheme of the tuple by using the Edit button marked in the screenshot below IF there is no data in this tuple.
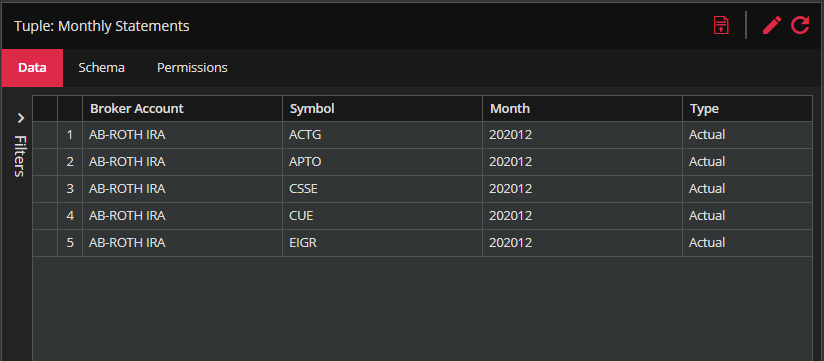
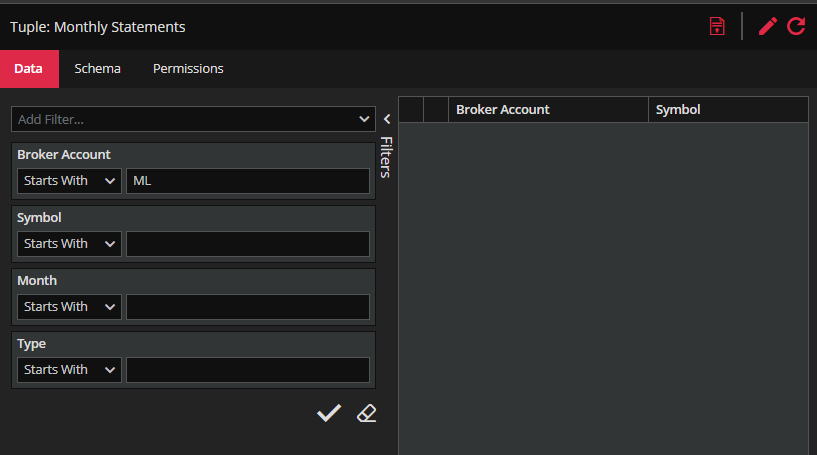
The Data tab shows all the data in the tuple. You can use filters in the Filters curtain to the left to make data searching easier.
There is also the possibility to add data to the tuple by using the LOADERS menu too. The LOADERS icon is marked with green in the screenshot below.
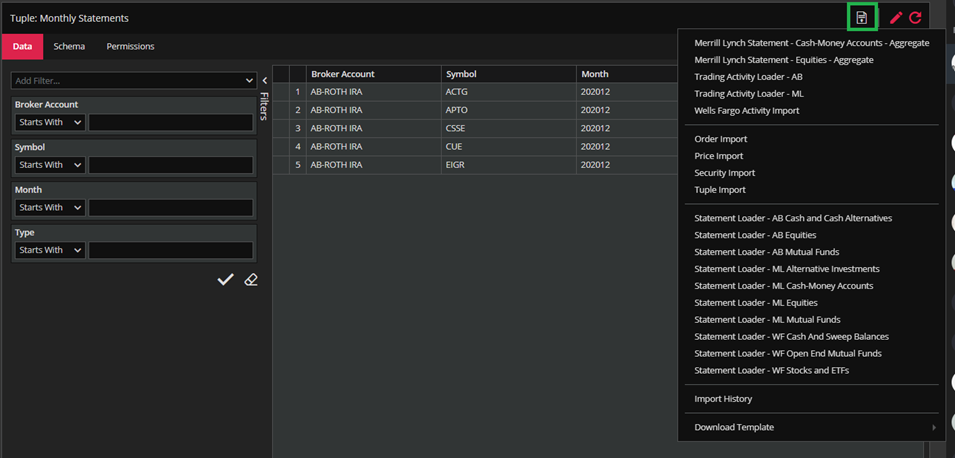
By selecting the appropriate process to target the chosen tuple, a window pops up and gives you possibility to Drag and Drop your file or to browse for your file. After selecting desired file, the corresponding ETL process runs and populates the tuple.
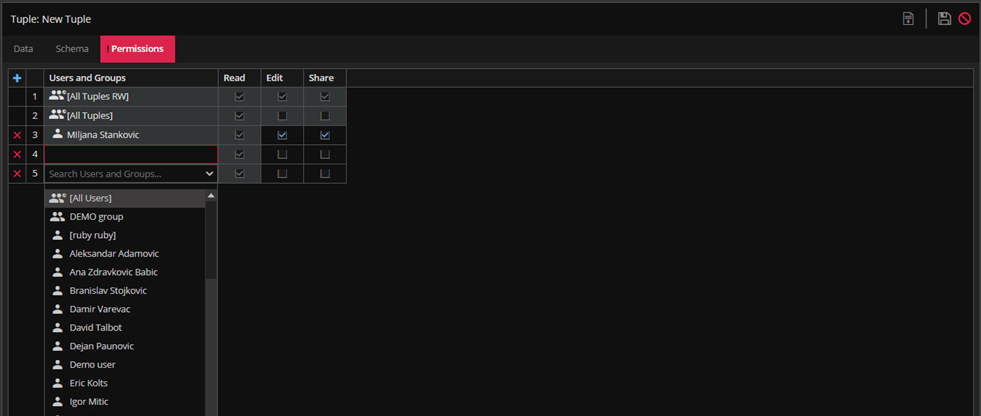
Permissions tab shows Read, Edit and Share permissions for specific tuple. You can change permissions for existing users, delete users or add new ones choosing from the drop-down menu if you enter the edit mode.
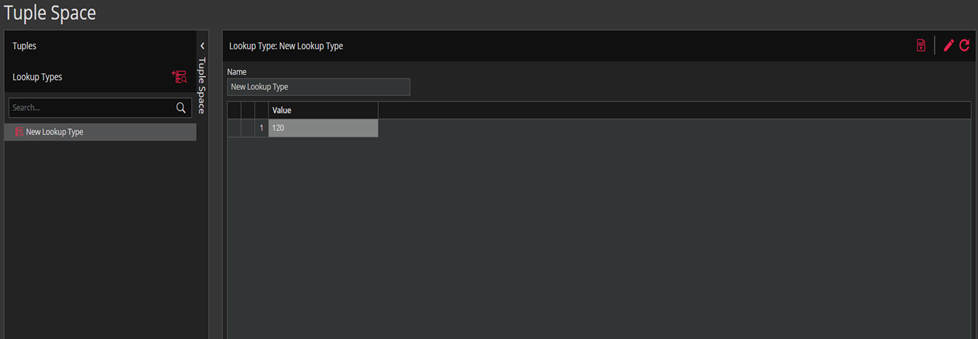
The Lookup Types tab provides you possibility to create new lookup types that can later be chosen as field type in the tuple schema.
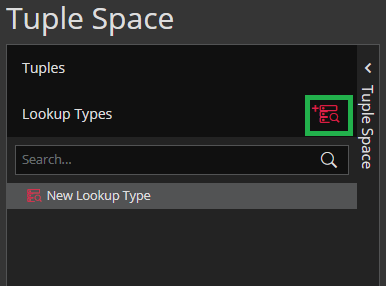
User can create new Lookup Type clicking on the icon marked green in the screenshot below.

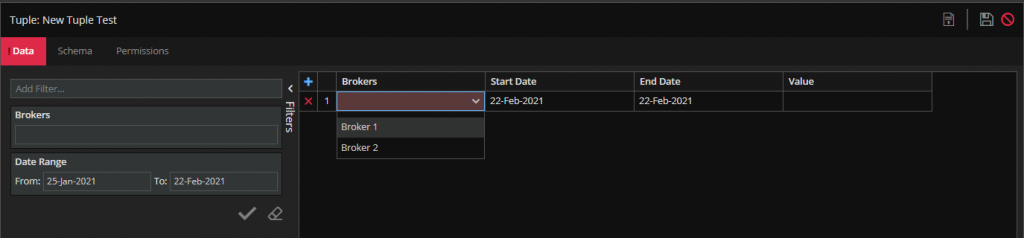
Once saved, The New Lookup Type 1 (shown in the screenshot above) will appear in the drop-down menu when adding new fields in a tuple schema. The values Broker 1 and Broker 2 will appear as values for the New Lookup Type 1 when adding data in the tuple. Here is a Date Range tuple type example in the sequel.

*If you create tuple with Key column of Field Type Security (Order) and add some Value columns (see screenshot below) then you will get Tuple Columns which you can add to the grid-view in Products (Orders) module through the Grid Editor.
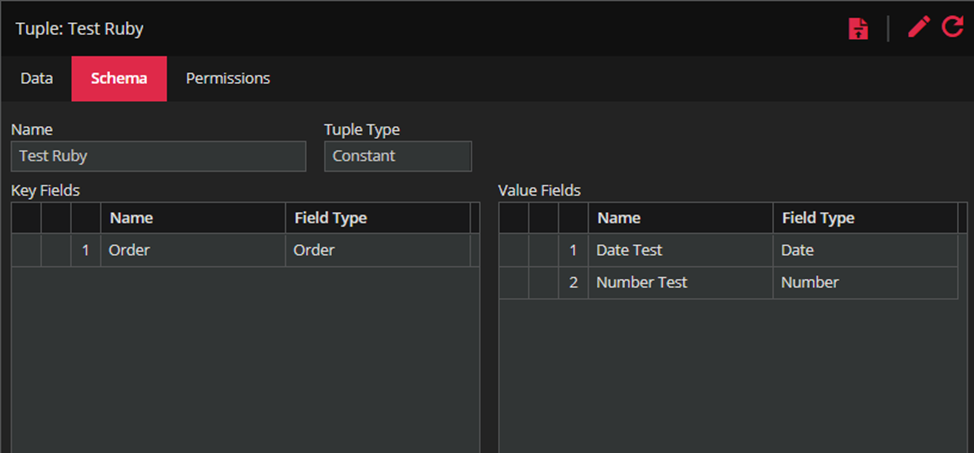
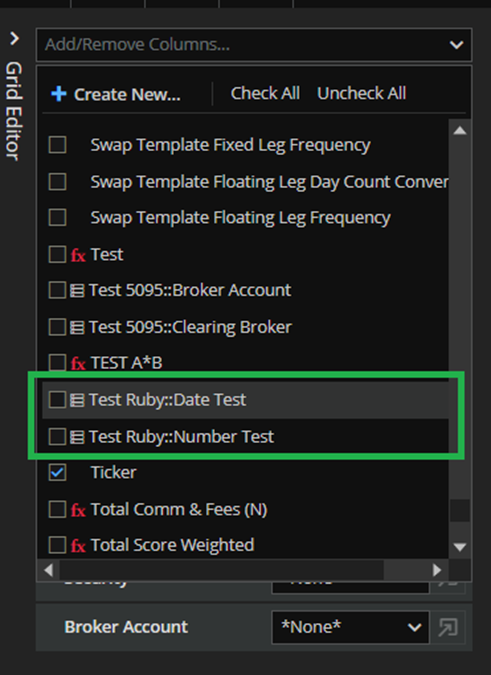
As you can see column name contains the name of the tuple and name of the tuple Value Fields.
Also, you can enter Tuple Column name like some column that we already have in grid and there will be no conflict.
