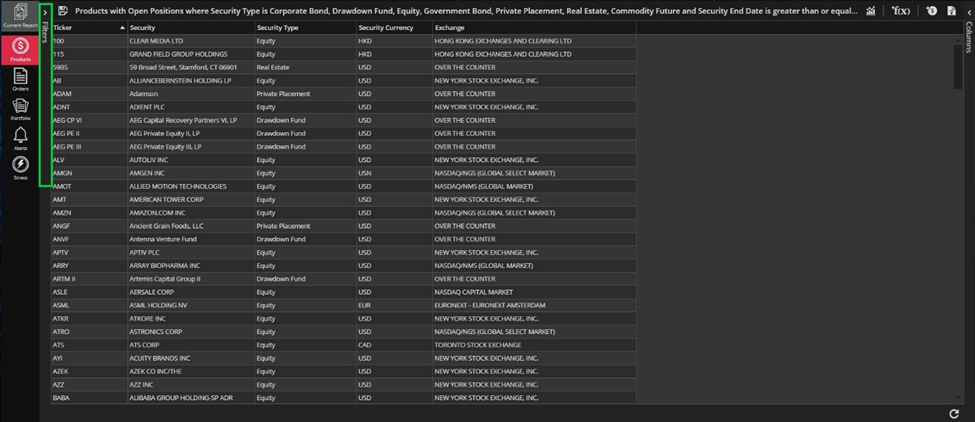
Filtering curtain (the one on the left side of any of the basic modules, also called Pre-Filtering section or curtain) is expanded by default and pre-populated with Customer Specific data at the moment. In case you land on page where filtering curtain is collapsed, you can easily expand it by clicking on the arrows in upper left corner.
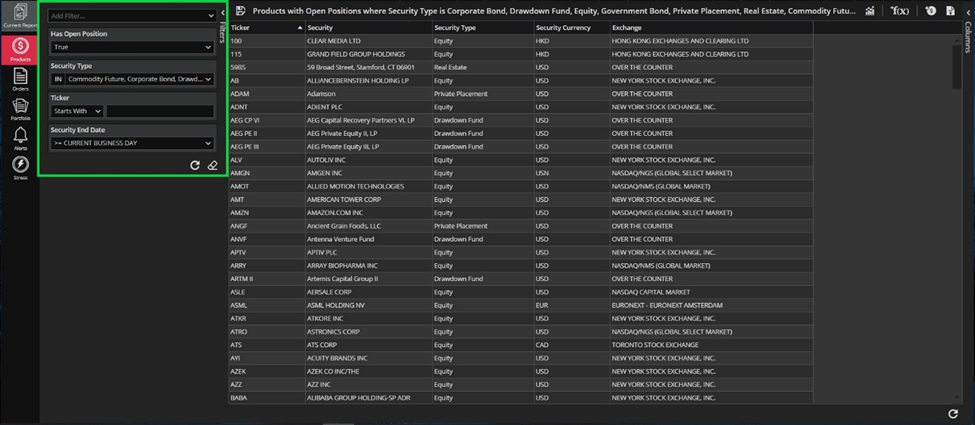
Setting the filters can easily be done by choosing desired values from the dropdowns and hitting Refresh button as a final step.
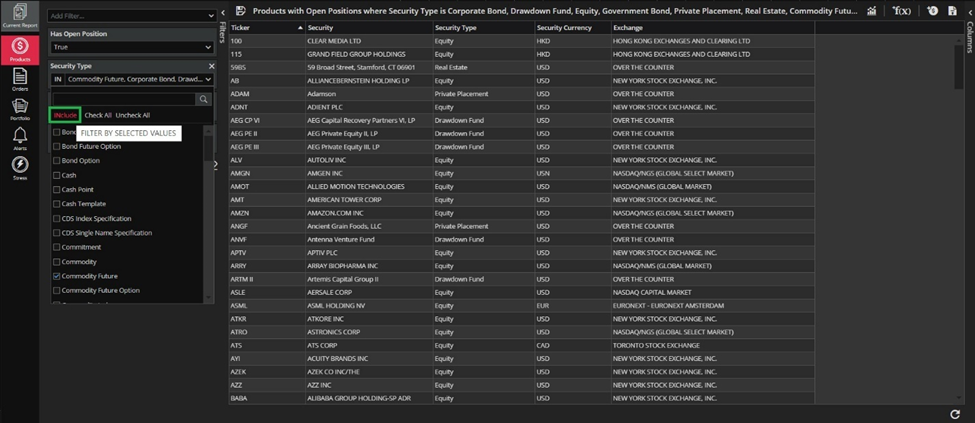
You can also choose whether you want to Exclude or Include the desired items. For example, if you click on the Exclude button, those items were be excluded from results.
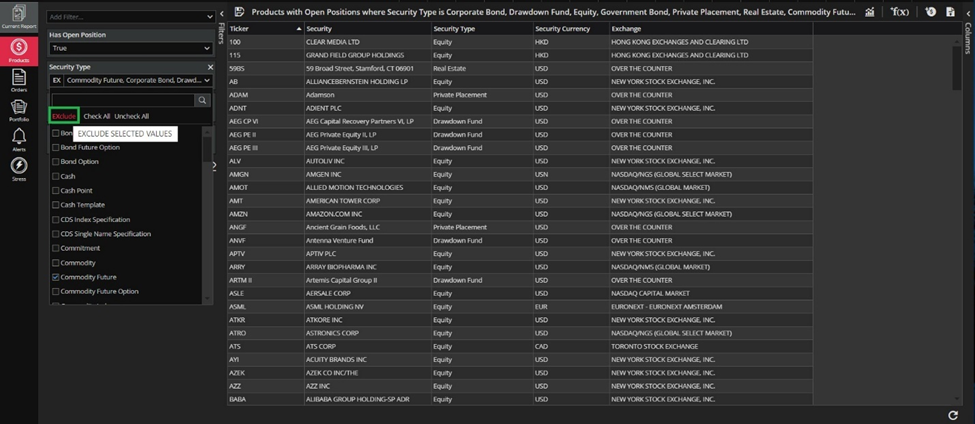
If you want items to be included, you need to click on the Include button, and only those items, after refresh, will be shown.
If you want to add additional fields, you would need to click at the drop down called Add filter.
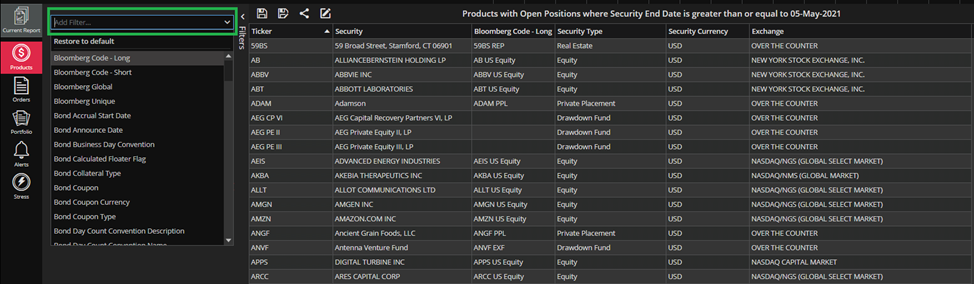
By simply clicking at any of the values from the list – field will be added to the pre-filtering section`s list.
Beside this, you can choose different values to filter your data. This is done by clicking the arrow bellow the field in filtering section.
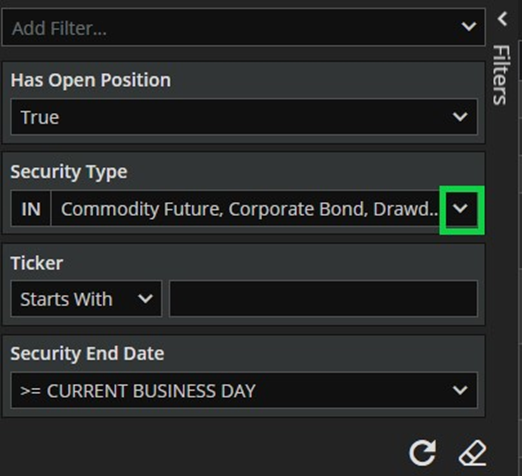
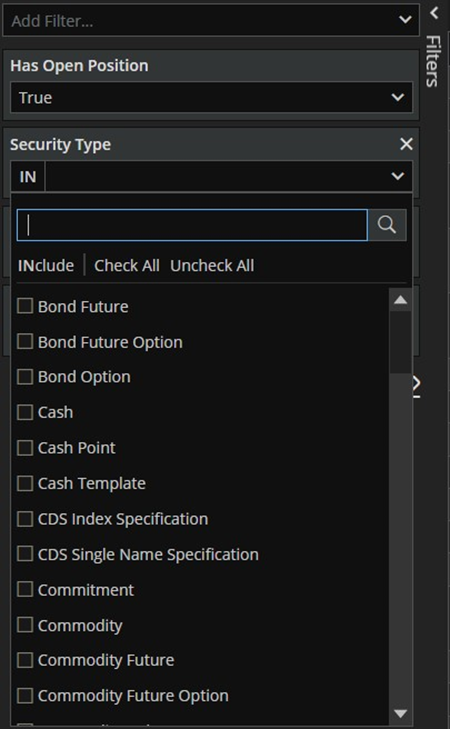
When you check in all check boxes you want to – you need to click anywhere outside the drop down so it collapse.
Please note that, these fields are case insensitive and that, depending of field type, you can change operator from Starts With to Equals or Contains by clicking at the arrow in the field.
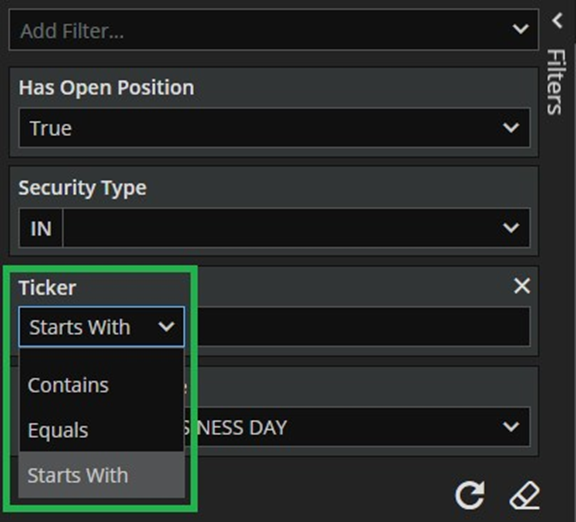
Then click Refresh button. The initial list of products will be narrowed down respectively to the filters you have set.
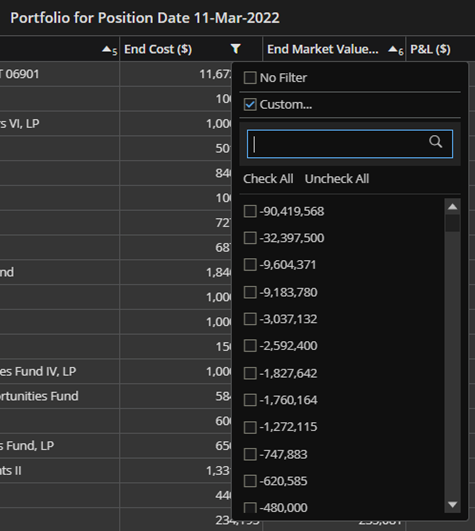
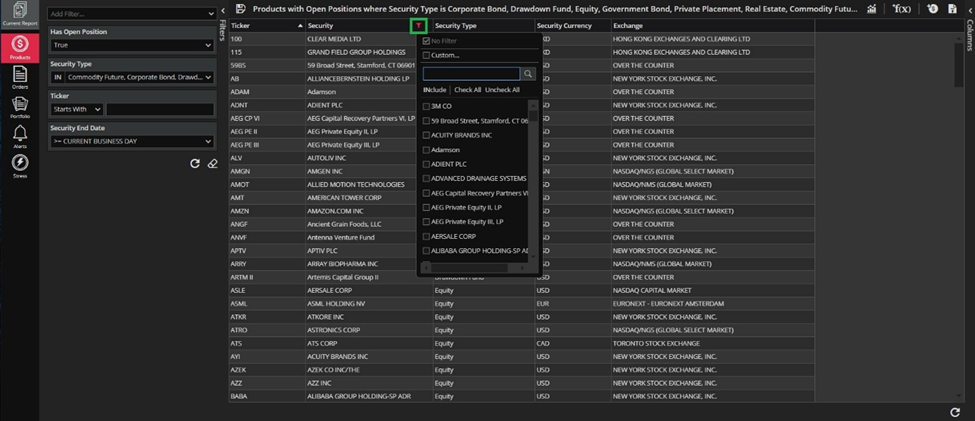
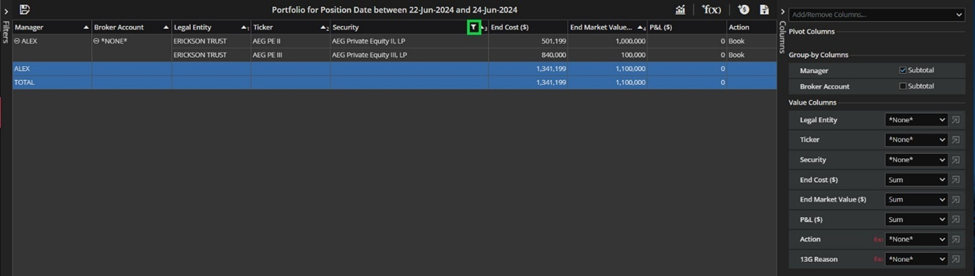
Once your grid-view in basic modules is populated with data, there is an option filtering the data by using Post-filters. When you hover over the columns header an arrow pointing down appears right next to the sorting arrows. By clicking on the Post-filter arrow (it’s marked green in the screenshot below) the drop-down menu opens.
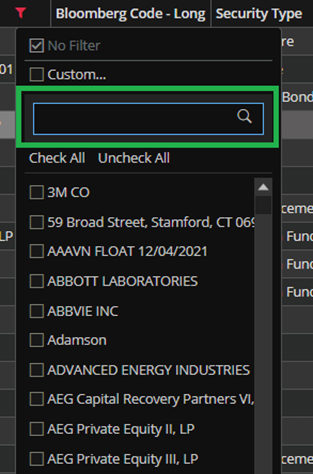
You can use search box (it’s marked green in the screenshot below).
When you check in desired items you need to click anywhere outside the drop down and post-filter will be applied.
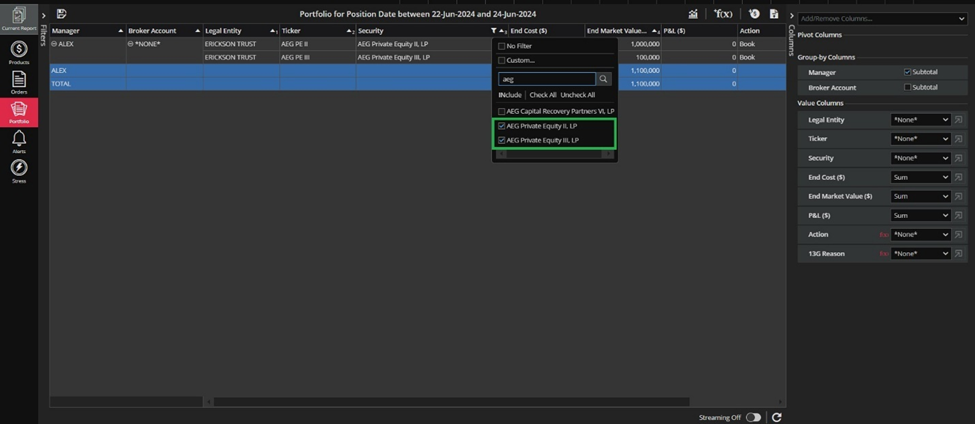
The Post-filter arrow is visible in the columns header where the post-filter is applied.
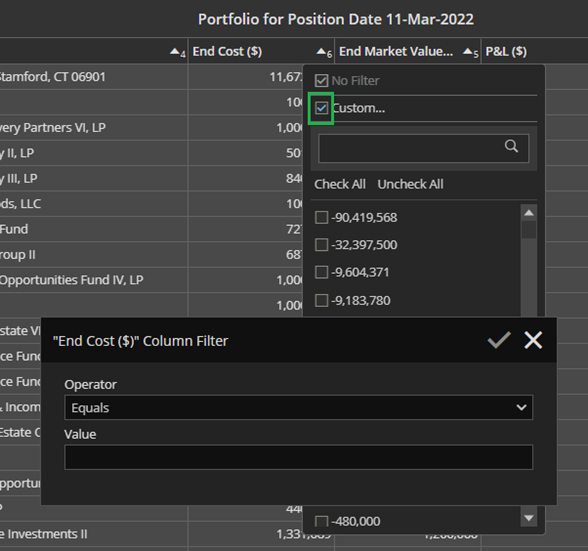
There is an option to use the Custom filter. By checking the Custom filter a Column Filter pop-up will appear.
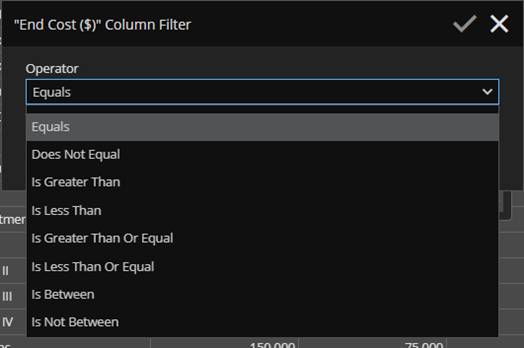
You can choose the Operator from the drop-down menu as you can see in the screenshot below.
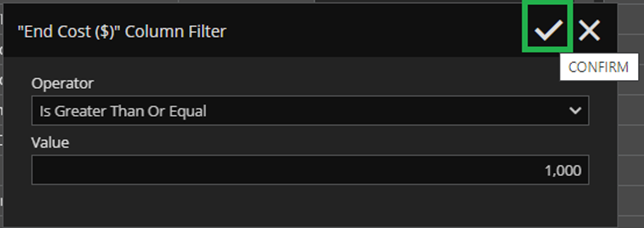
After you choose the operator and populate the Value field you can apply the filter by clicking on the CONFIRM button.
If you go back to Post-filter you will notice that only Custom filter is checked.